
Updated: See Part 2 here
I’ve been trying to come up with smaller woodwork projects for myself at the weekends. The problem with larger projects is that I don’t end up having the same motivation to keep at them week after week so they usually end up half assed or shelved. Also, with the country still in lockdown due to Covid 19, it’s difficult to get to stores that have good wood supplies so I don’t have the same enthusiasm for trying decorative pieces if the quality of wood isn’t great. Anyways, my wife had mentioned how everyone had their own Frame Saw and axe when she was growing up, so I decided to try and make a home built saw for myself. I found a nice video on YouTube showing how to build a Chinese Frame Saw, so decided to go from there. There’s also a really good video from Paul Sellers showing the European variant of the Frame saw (both seem very similar the first video shows the few differences nicely).
The Wood
As mentioned above, I didn’t really have any nice lumber so I wanted to use some of the logs from trees that I’d cut down at the back of the garden. It seemed the perfect opportunity to try and do a proper from scratch build. First thing that needed to be done was to find a log that was an appropriate shape and length. Looking at the options for saw blades from the Fine Tools website, I’d picked a saw blade length of 600mm, so I wanted a log about 800mm in length and reasonably straight to give me enough room for my usual fuck-ups.
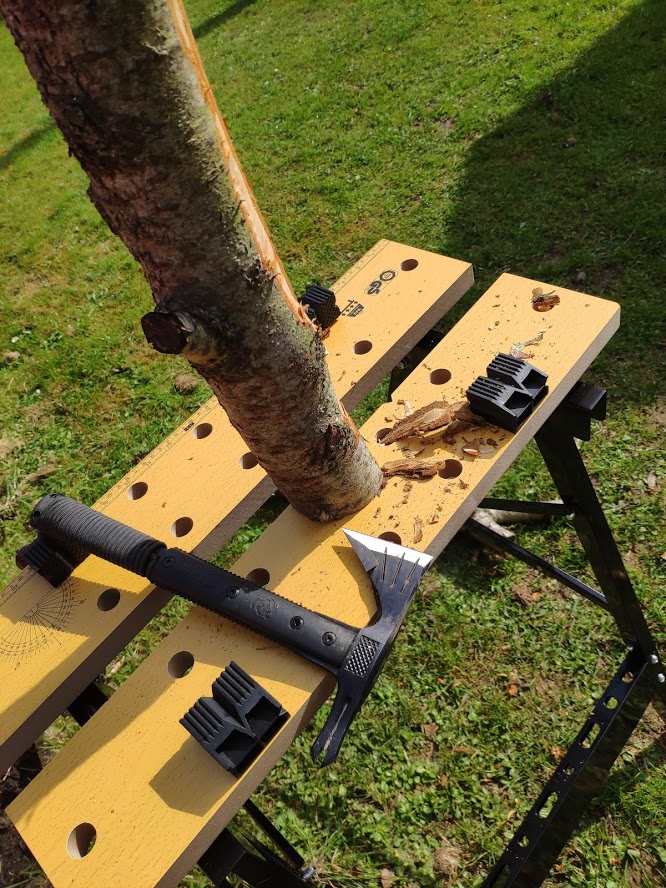 Initial Log
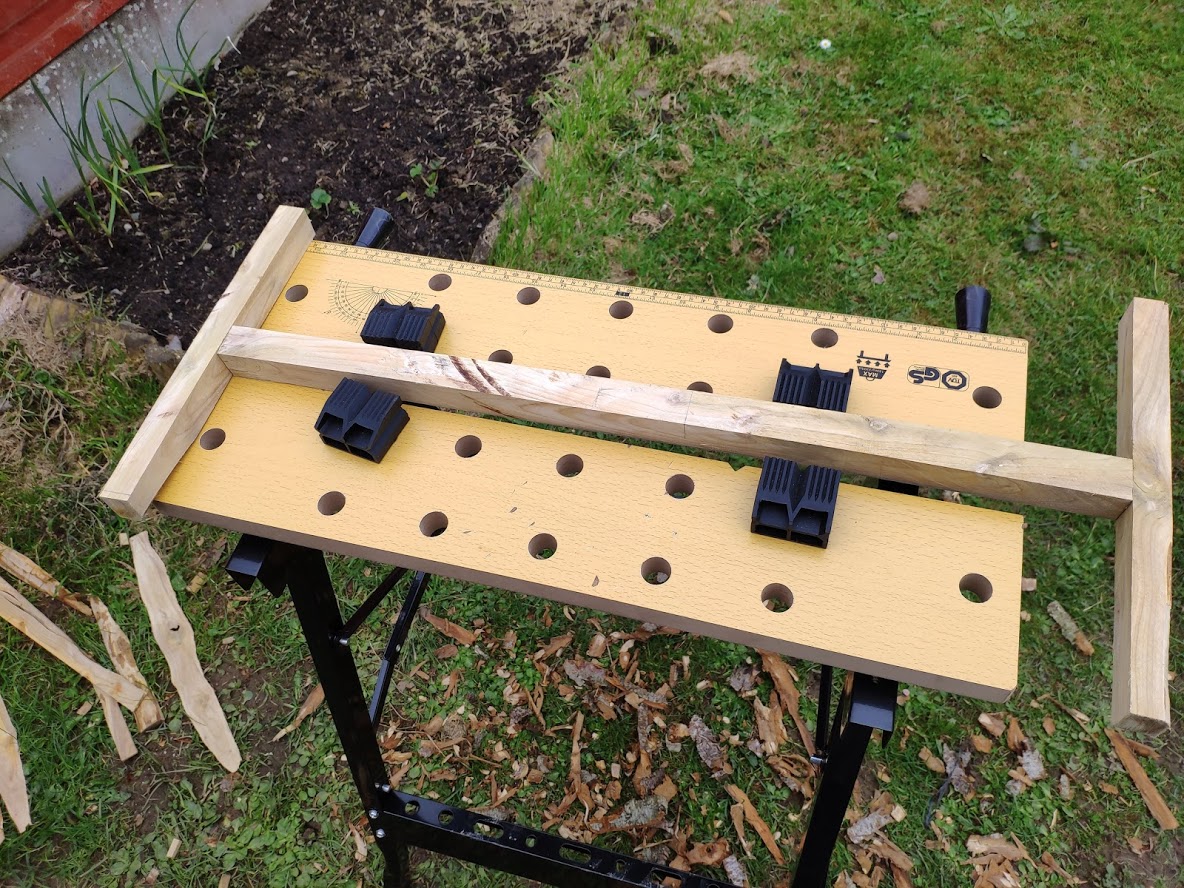
I hacked off the few branch stubs with the axe (I finally understand the need for a yewing axe) and stripped off the bark, but wasn’t entirely sure how to mill the log down to a reasonably straight piece of lumber. A quick google later and I had a simple jig that could run through the table-saw to get a nice piece of useable wood. The jig is shown below; it simply attaches the branch to a straight edge (pine plank) and chops the overhang with the table saw blade.
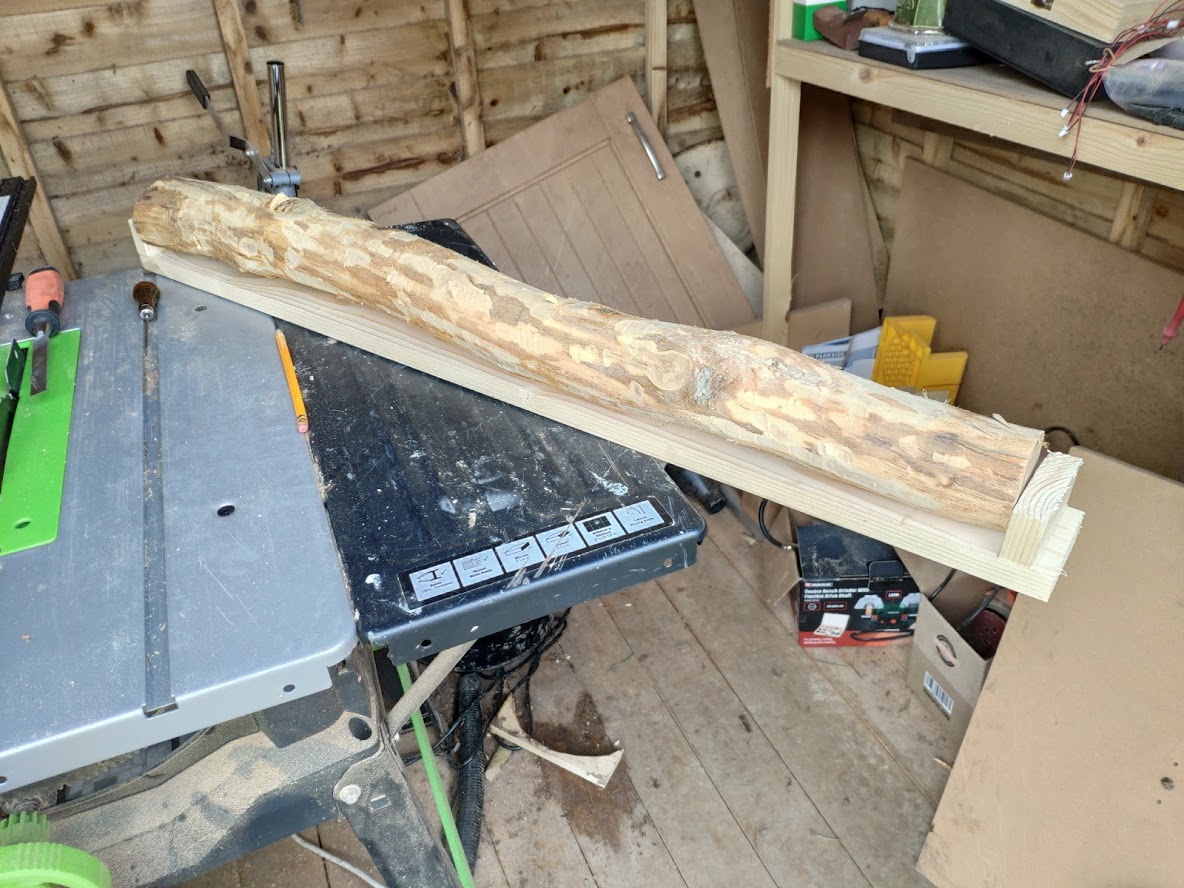 Simple Milling Jig
Joinery
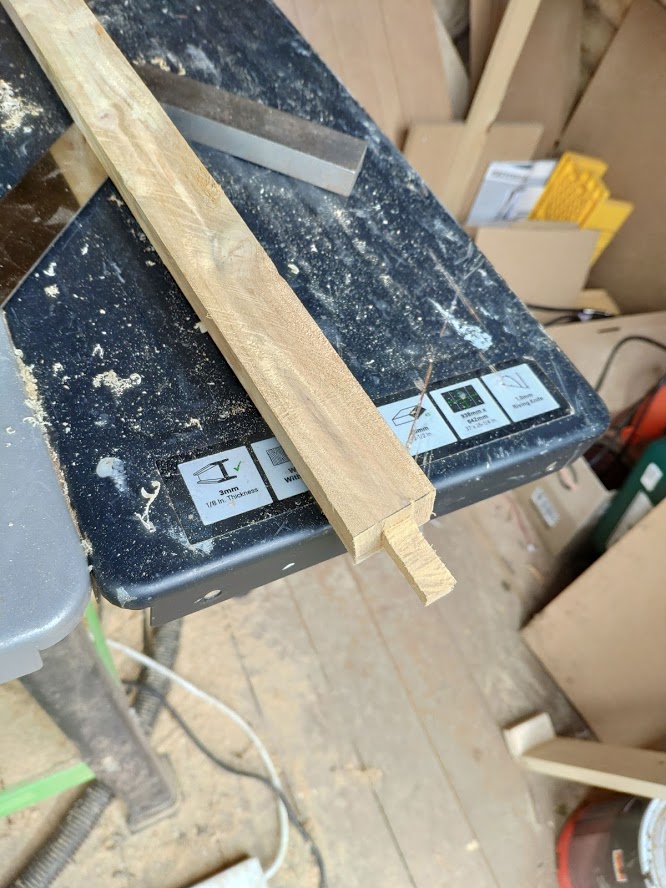
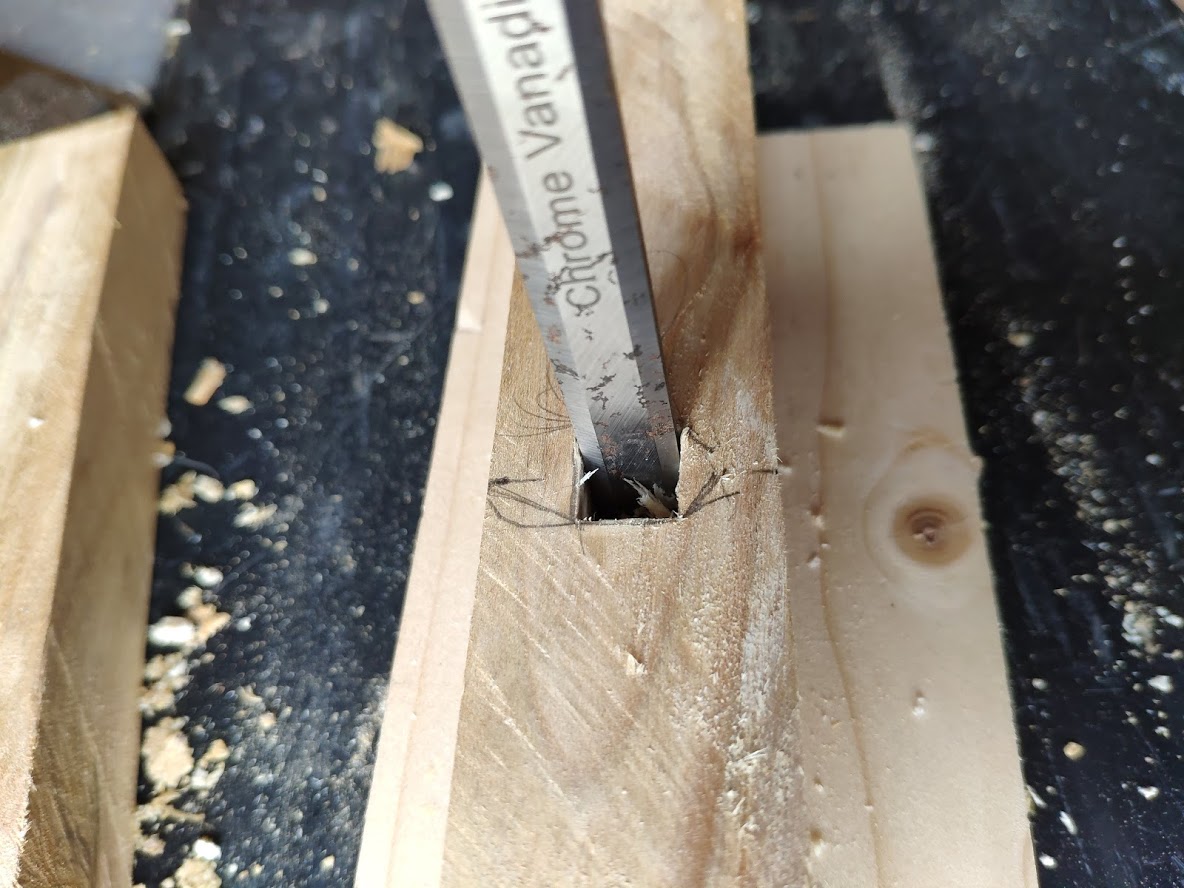
After milling the log into a useable length of wood (and a quick pass with the hand plane), I cut a couple of tenons either side of the main piece of wood (I cut down from the initial 850mm to 700mm as it was way too long). I was able to get the two sides out of the same piece of lumber also, so I cut the mortise into each piece to get the H shape of the frame saw. I’m not overly concerned about the joints having to fit too snug (I was actually pretty happy with how tight they were) as the tension will be provided by the blade and the variable tension at the top of the saw, and tbh I’m not overly experienced at doing joinery anyways. My big concern at the moment is with how wet the wood was. Due to the fact that it wasn’t dried at all before milling, I’m expecting it to move or warp, but I’m treating this as a learning opportunity to see how much it changes.
 Main saw Mortise
 Side Tenons
Next Steps
The basic H shape for the frame saw is completed now, so I need to wait for the actual blade to come to try and fit everything together. I’ll do a part 2 blog entry when the pieces arrive and hopefully have a useable saw at the end of it all. Who knows… Could be a fuckin disaster…
 Initial Saw Frame
