
Unfortunately it took a little longer to get to the second part of this build than I would’ve thought. I bought a threaded rod (to act as the counter balance) and the blade for the saw but thanks to Brexit, it took a full two weeks for delivery… Painful. Oh and screwfix decided to send the threaded rod and the wingnuts in two seperate packages for some reason. 🤦
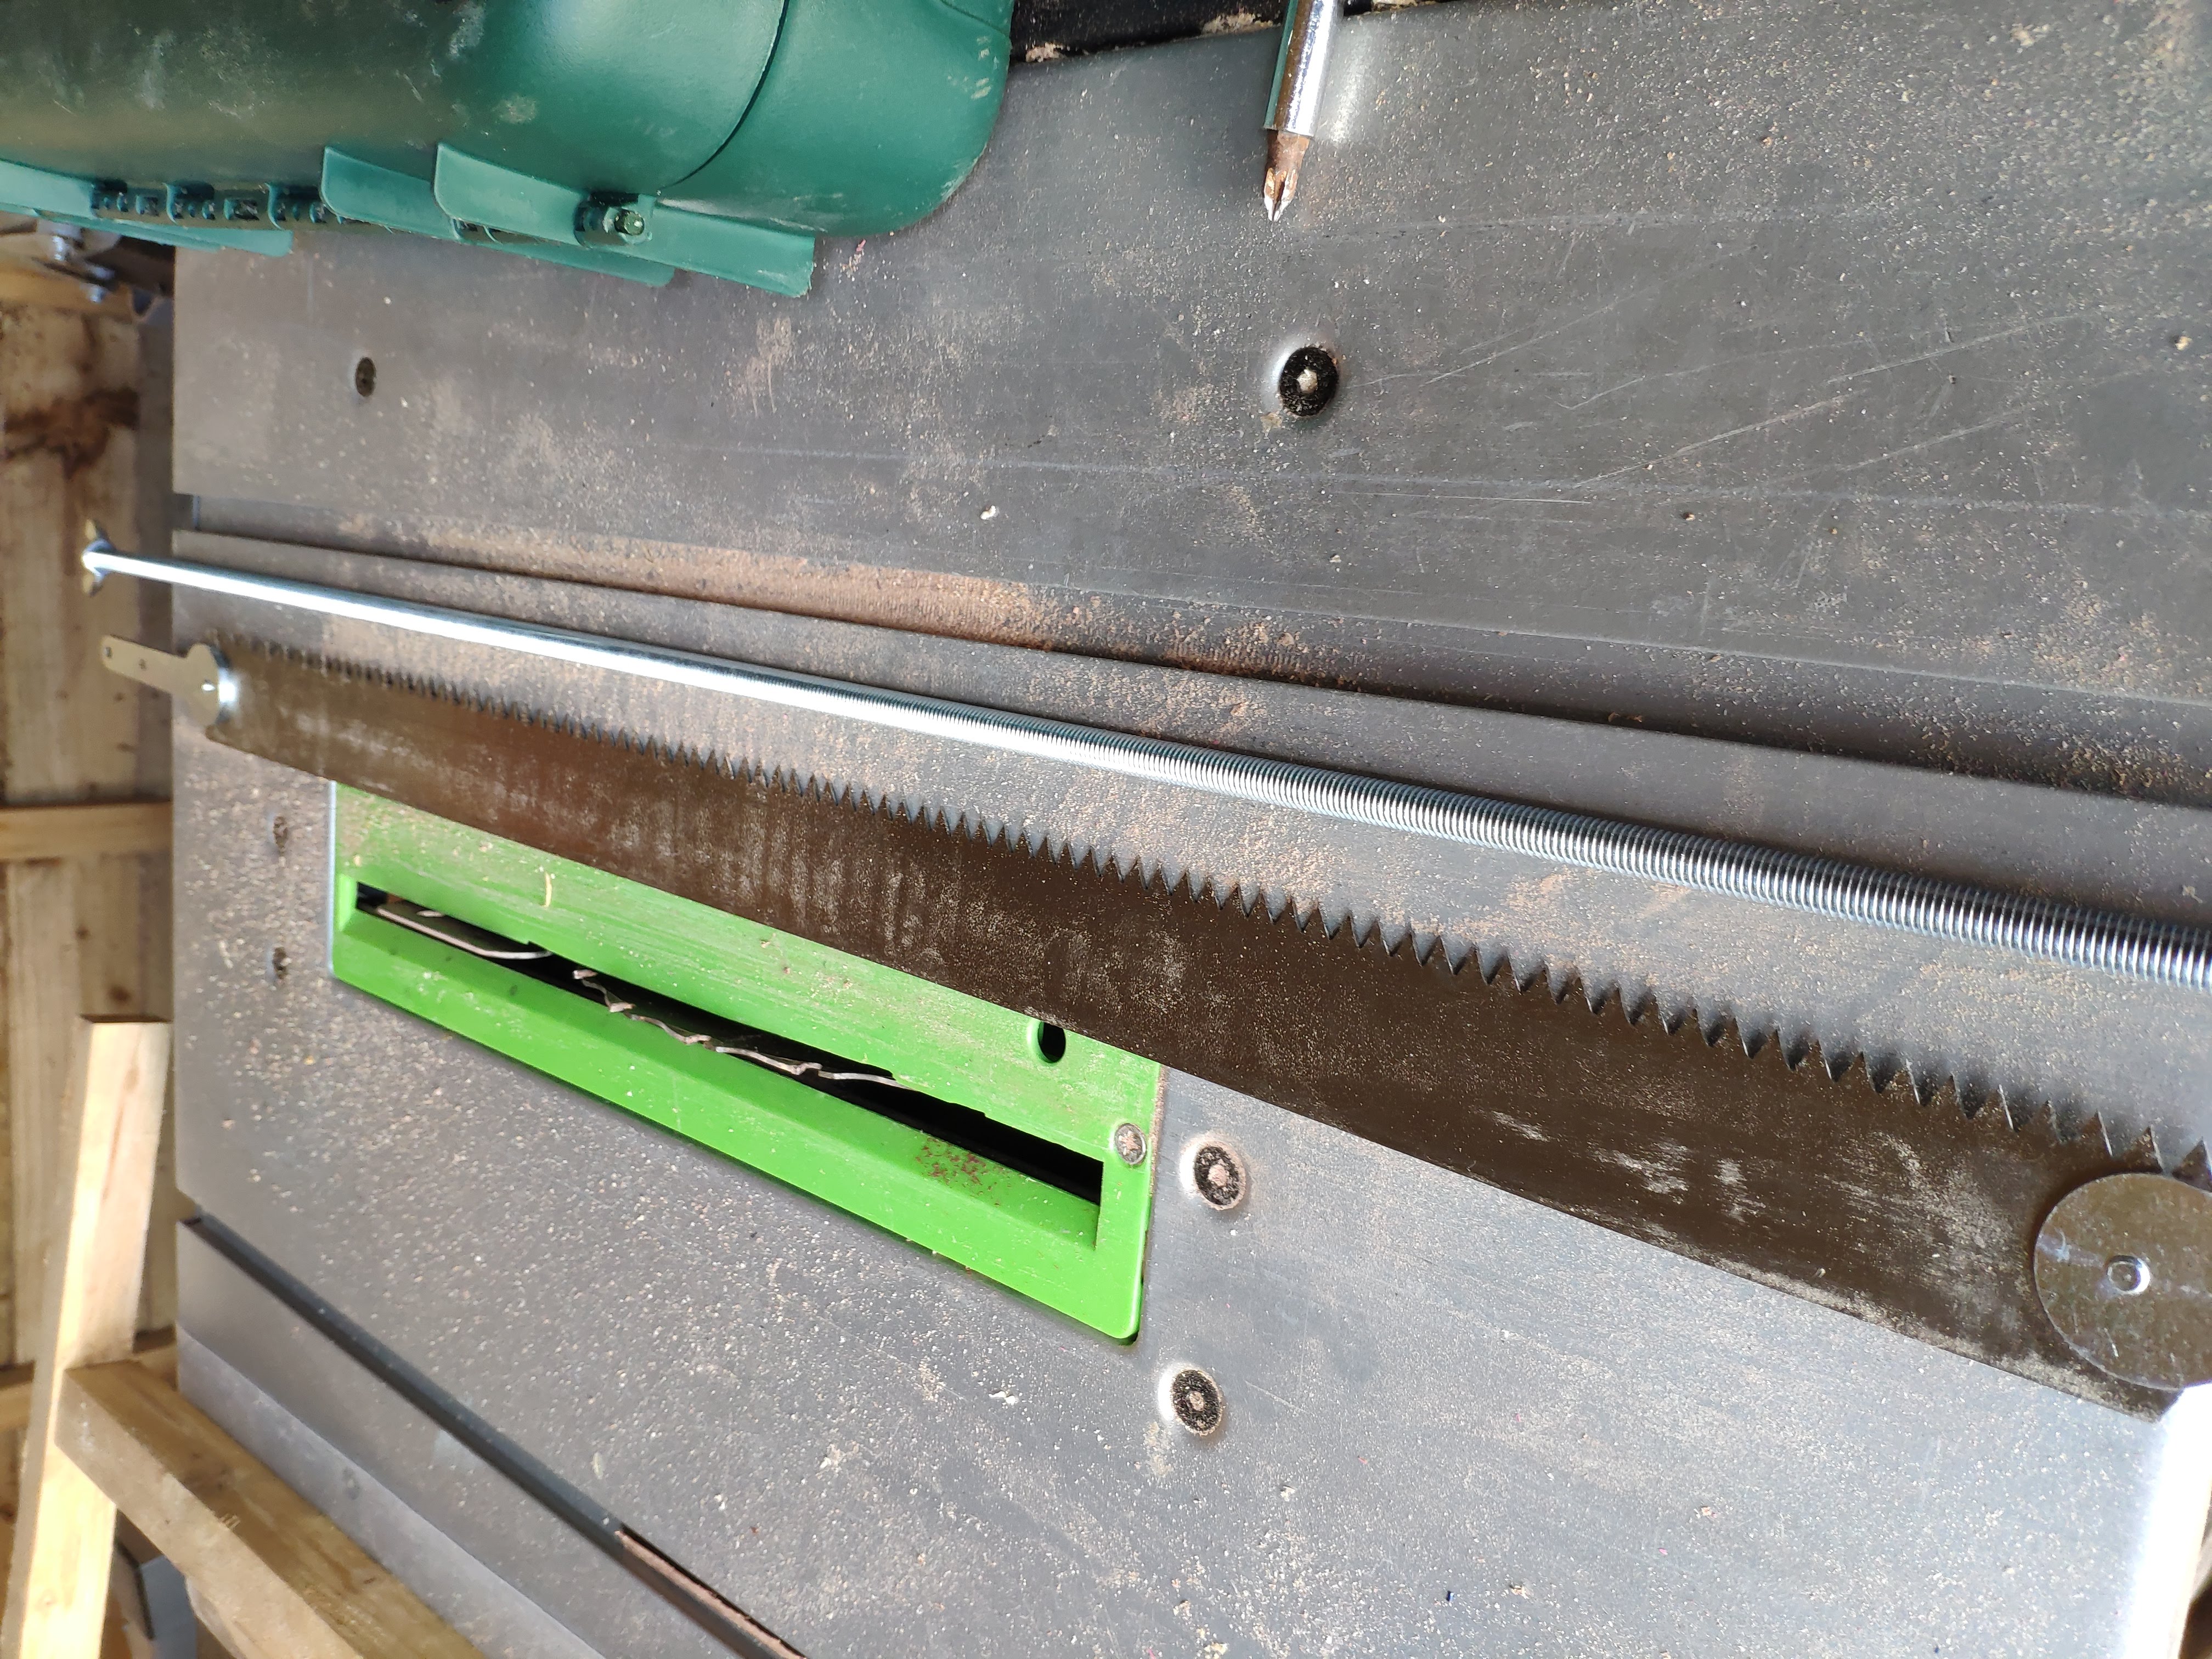 Componenets Arrived
Assembly
There really wasn’t much work in finishing off the saw. The blade comes with a pair of metal retainers which I have held in place in the frame with a screw. The original holes for the retainers would’ve been too wide for the frame so I added a shorter hole to each. Took a while to get through the metal with the drill but no dofficulties beyond requiring a bit of patience. The threaded rod luckily went through the 6.8mm hole quick snug which was handy because I don’t have an over-abundance of drill bits. Some small work on the handle with the Shinto rasp (highly recommended if you don’t have one) to take the square edges off and make it a bit more comfortable in the hand. Once the wing nuts were tightened then it was ready for a test.
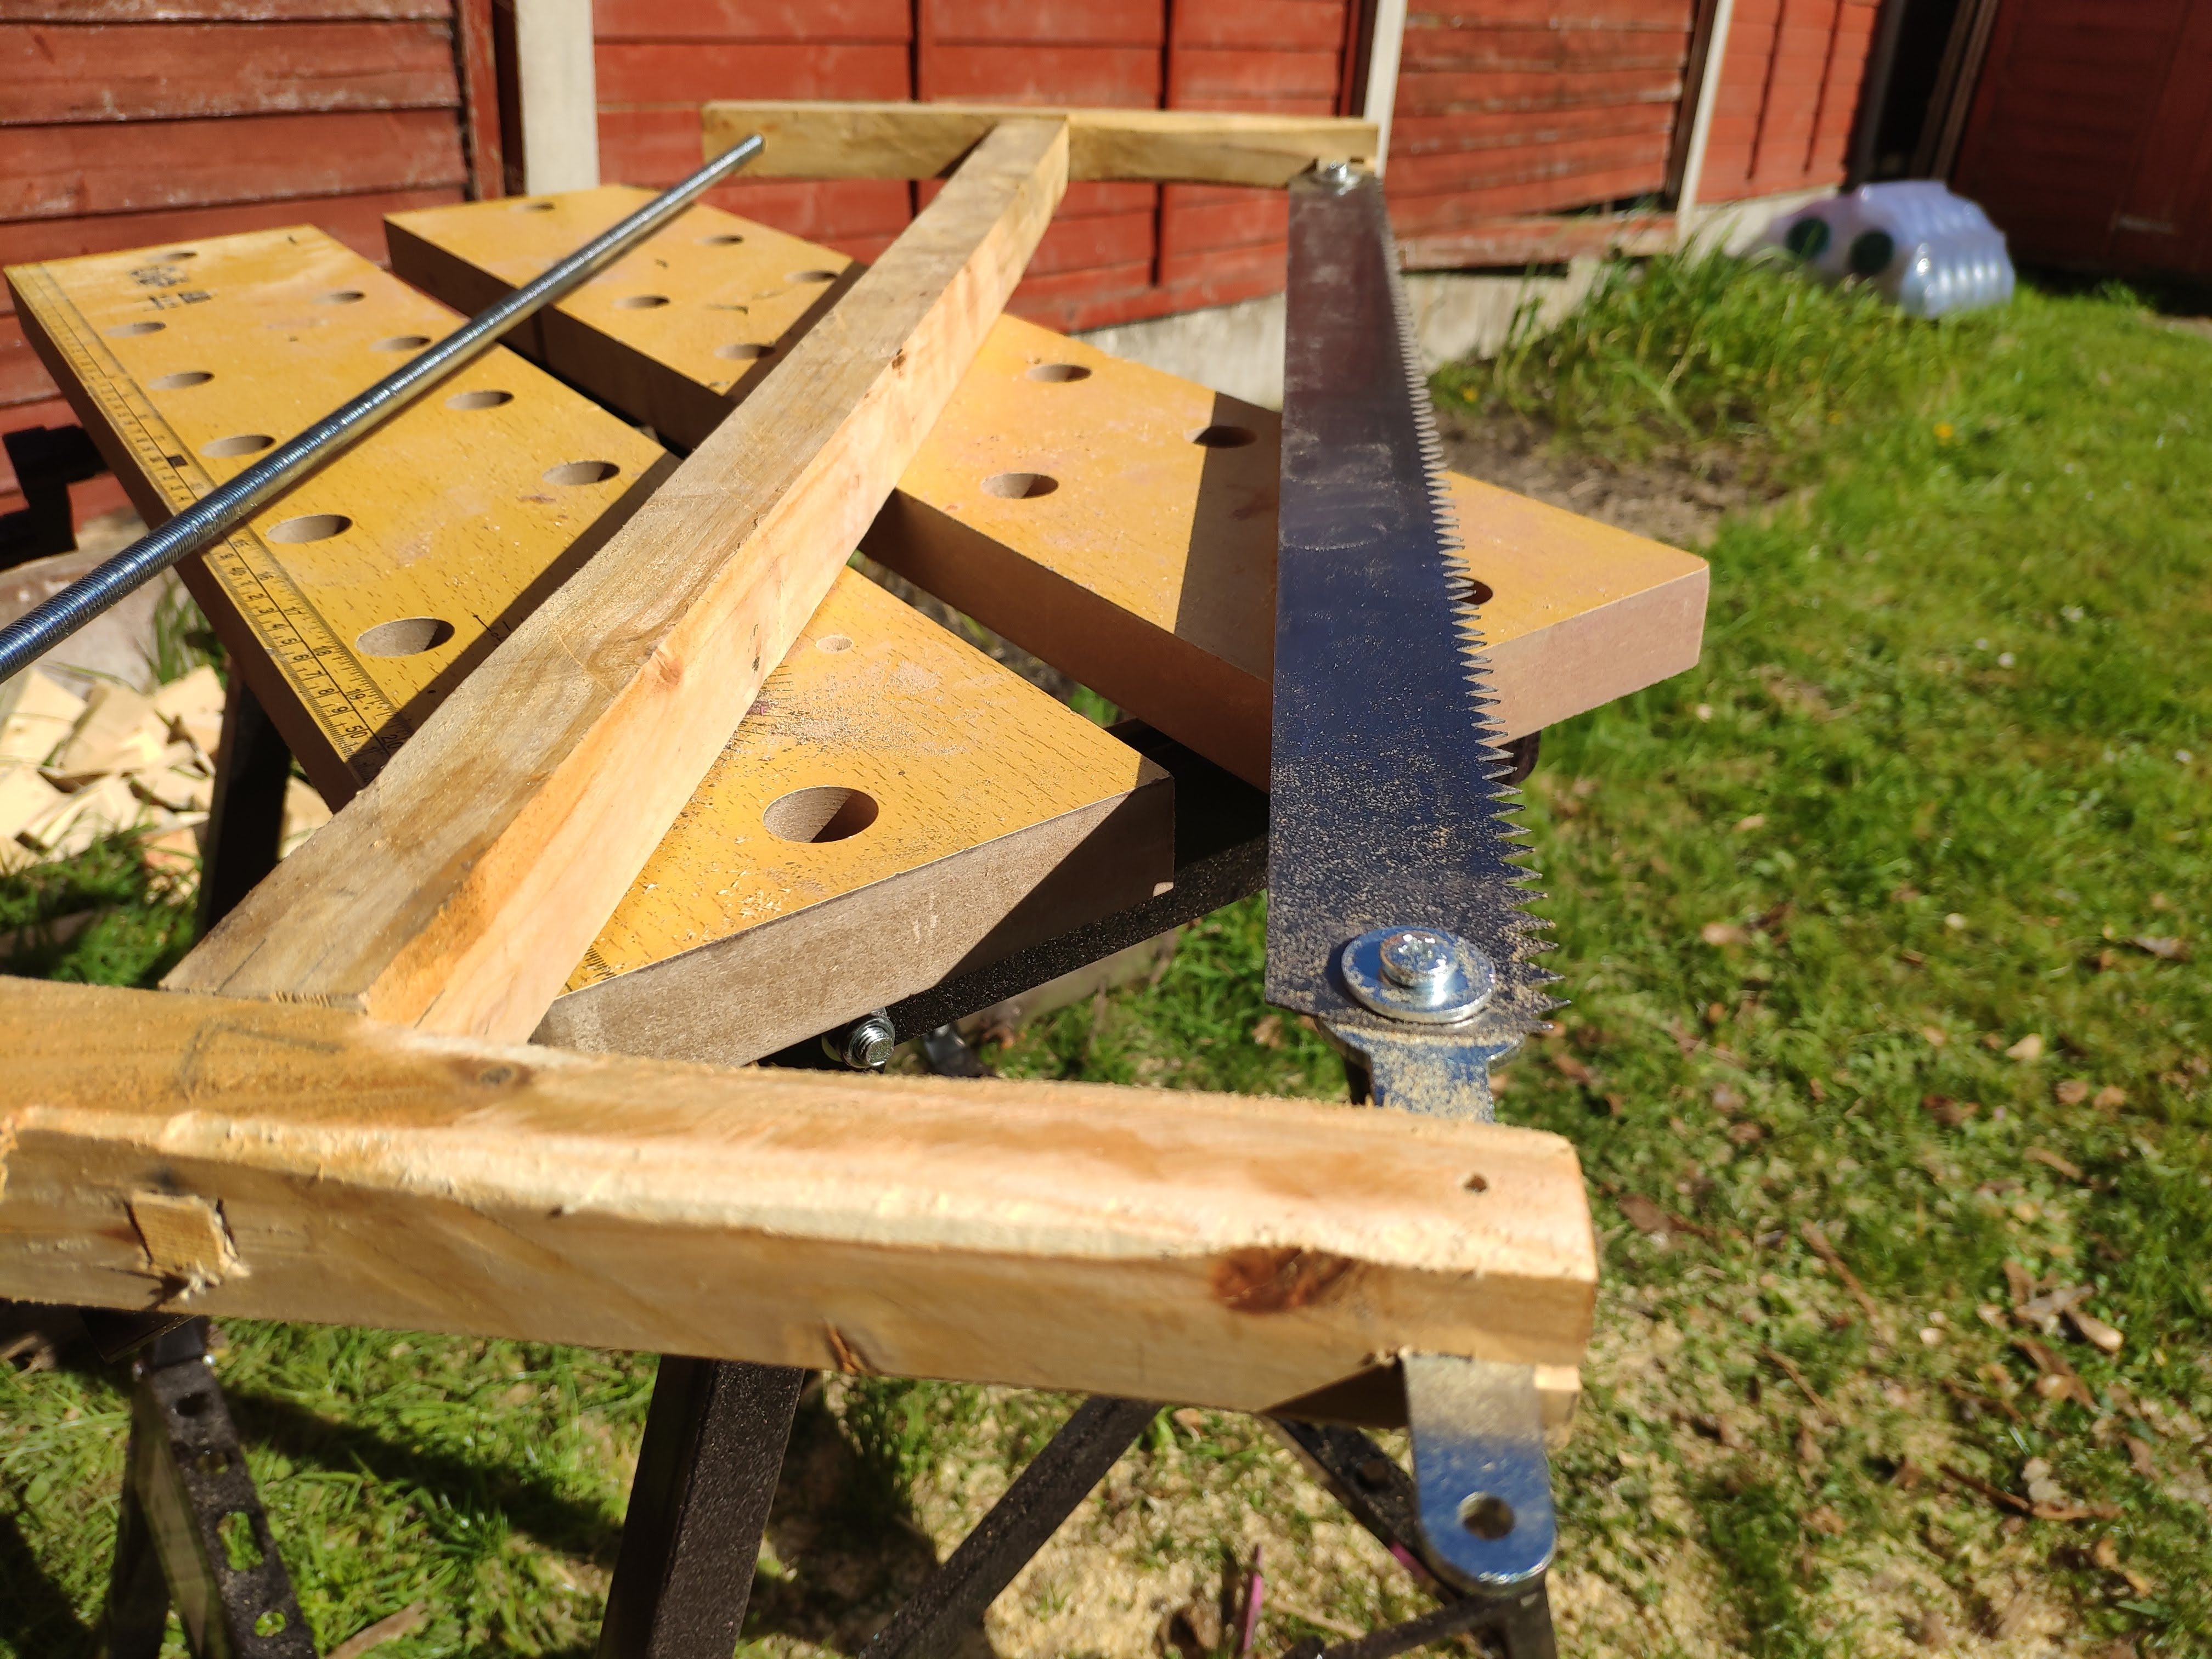 Retaining Holes
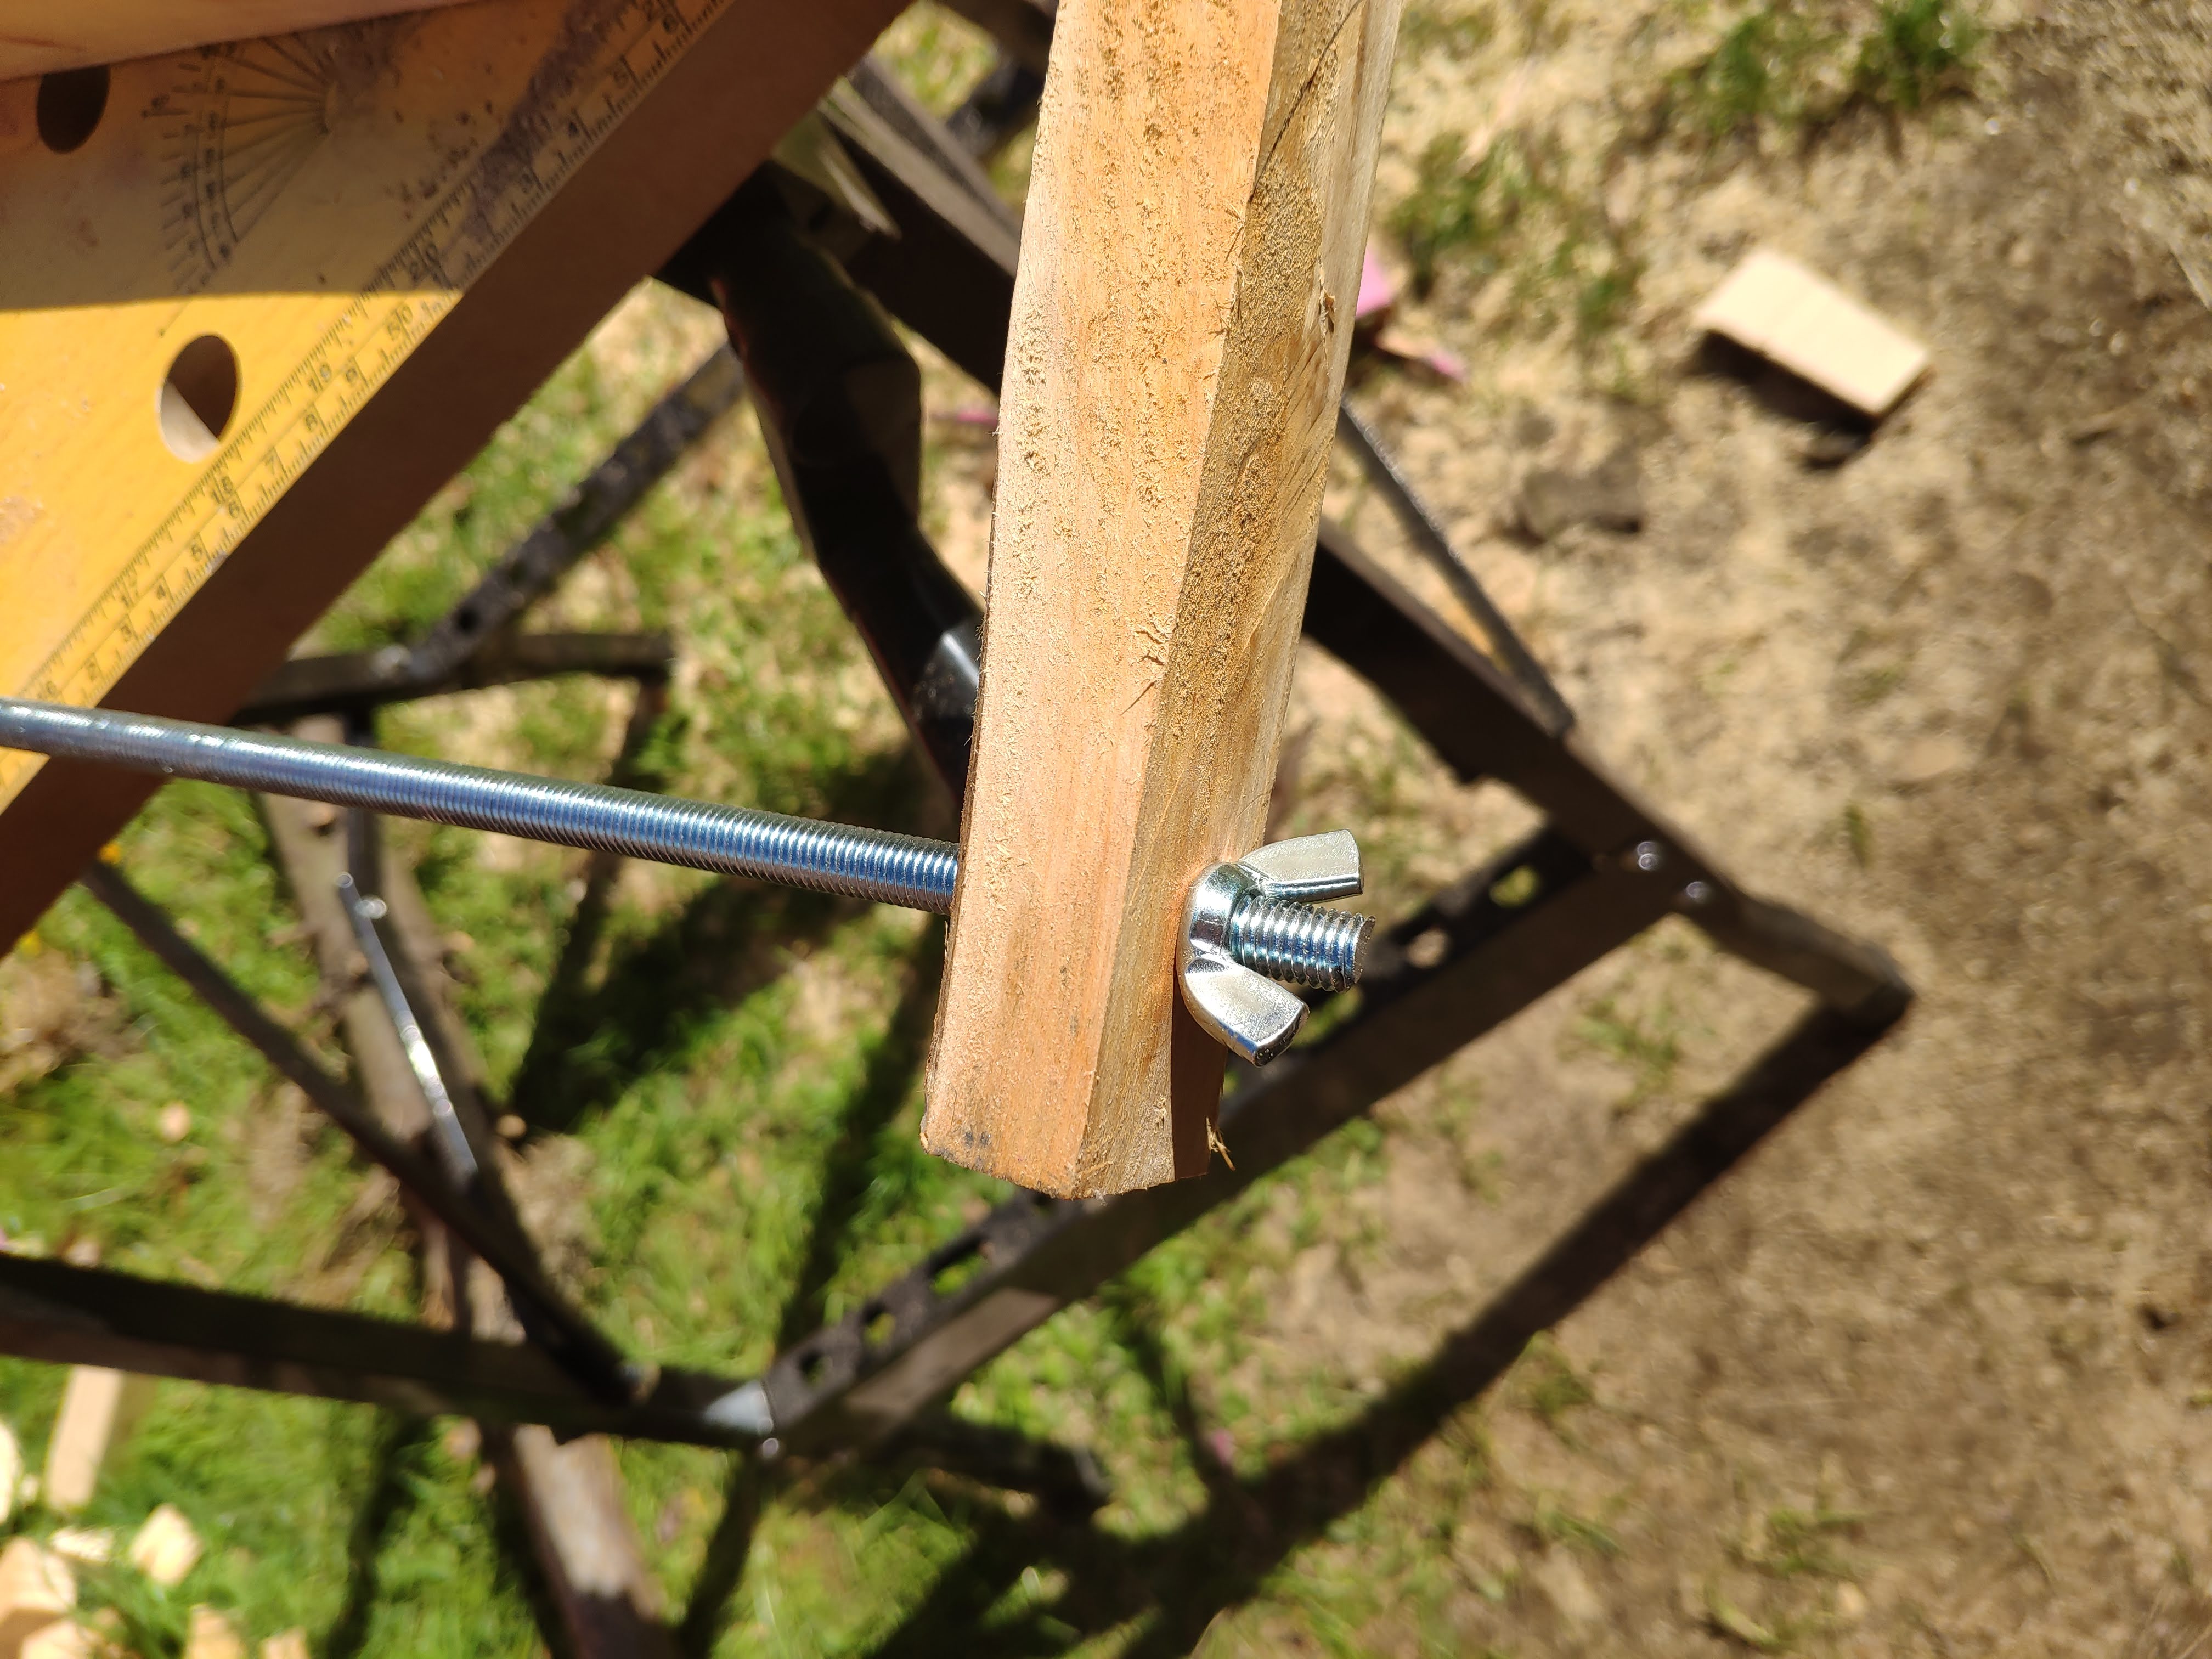 Wing Nuts to Tighten
Demonstration
There’s a quick demo below showing how easily this thing goes through an old Christmas tree trunk. I haven’t sharpened the blade which I believe is recommended but tbh it cuts pretty well straight out of the bag, so that’s definitely on the to-do list. Also, I think it’d be interesting to try making my own blade at some point in the future, but I didn’t have any materials lying around which would’ve been useable and the blade wasn’t that expensive anyways.
All in all, quite happy with how this project turned out… Oh and takes to James for the videography… 😊
