
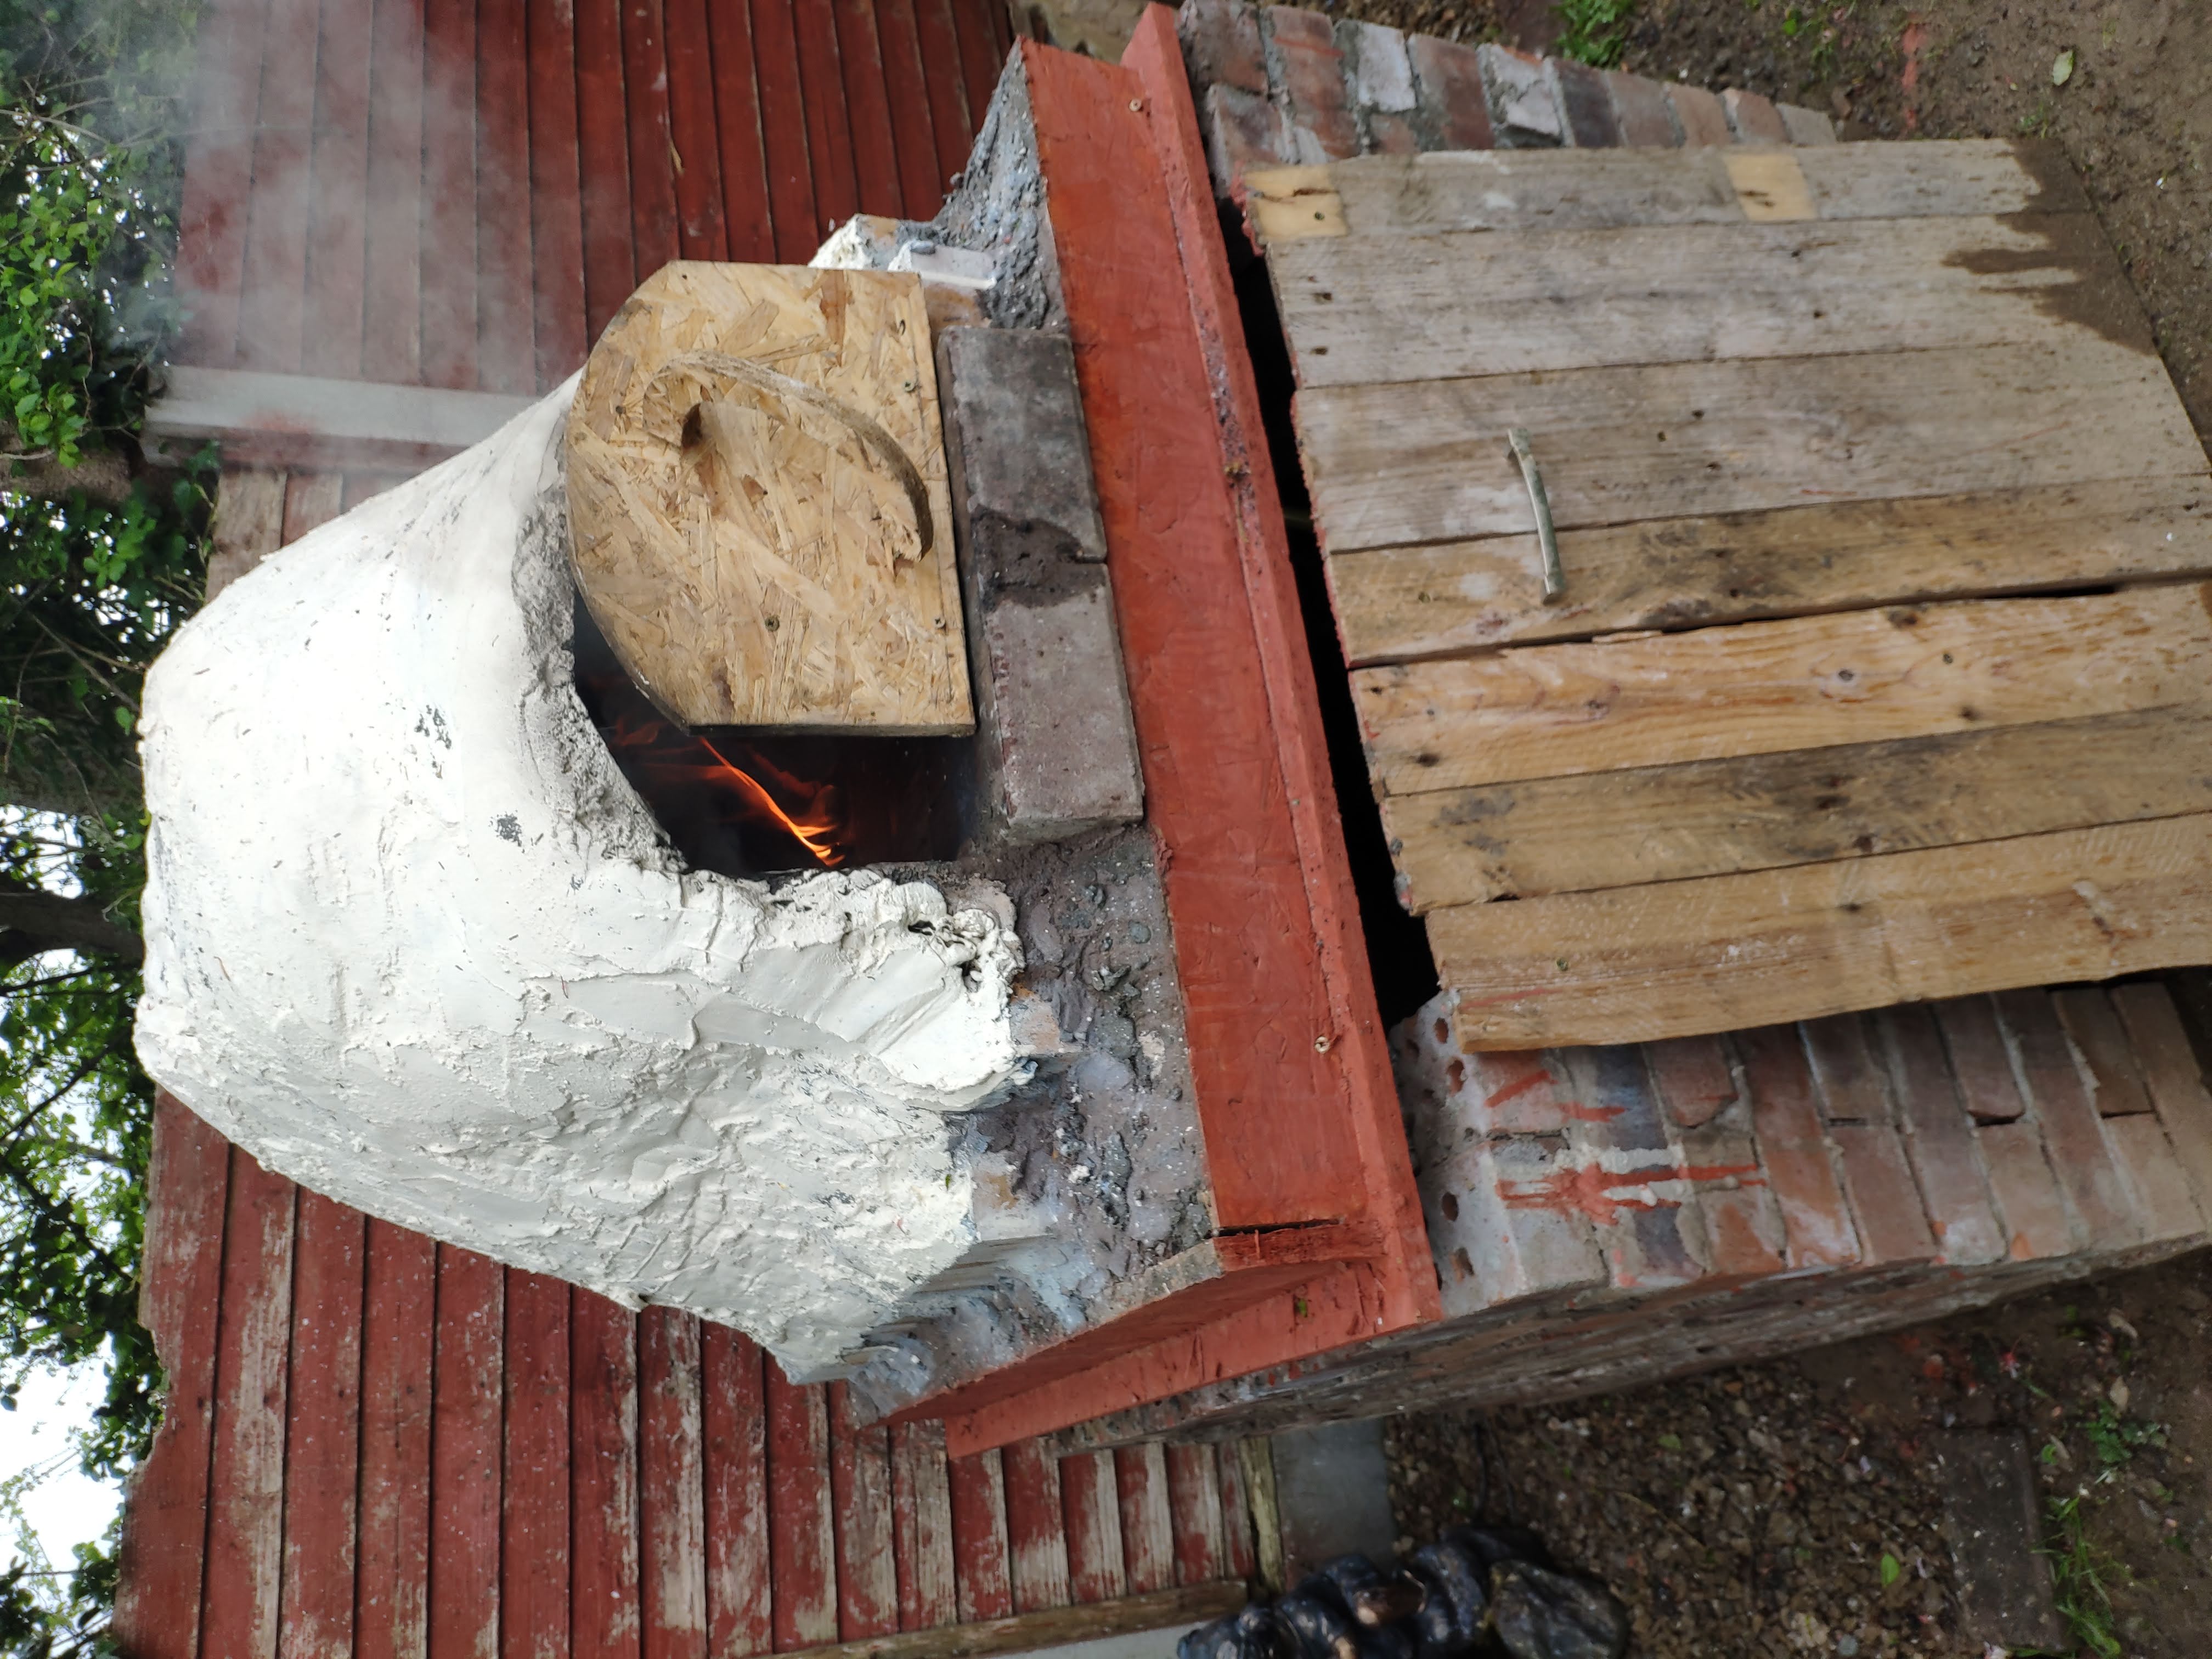
I’ve always loved the idea of wood fired pizza. After coming across a YouTube video documenting a home build, I decided to try it out for myself. Outlined here are the major steps involved and where I think improvements could’ve been made. The build took about 5 weekends to complete and in the end cost the guts of 500 euro in materials and tools. I’m sure it could be done cheaper and I’m definitely sure it could be done better but I learned plenty along the way and it was quite enjoyable to attempt a bit of faux masonry.
 The Finished Product
Location
| Clearing Some Space | Laying Foundations |
|---|---|
 |
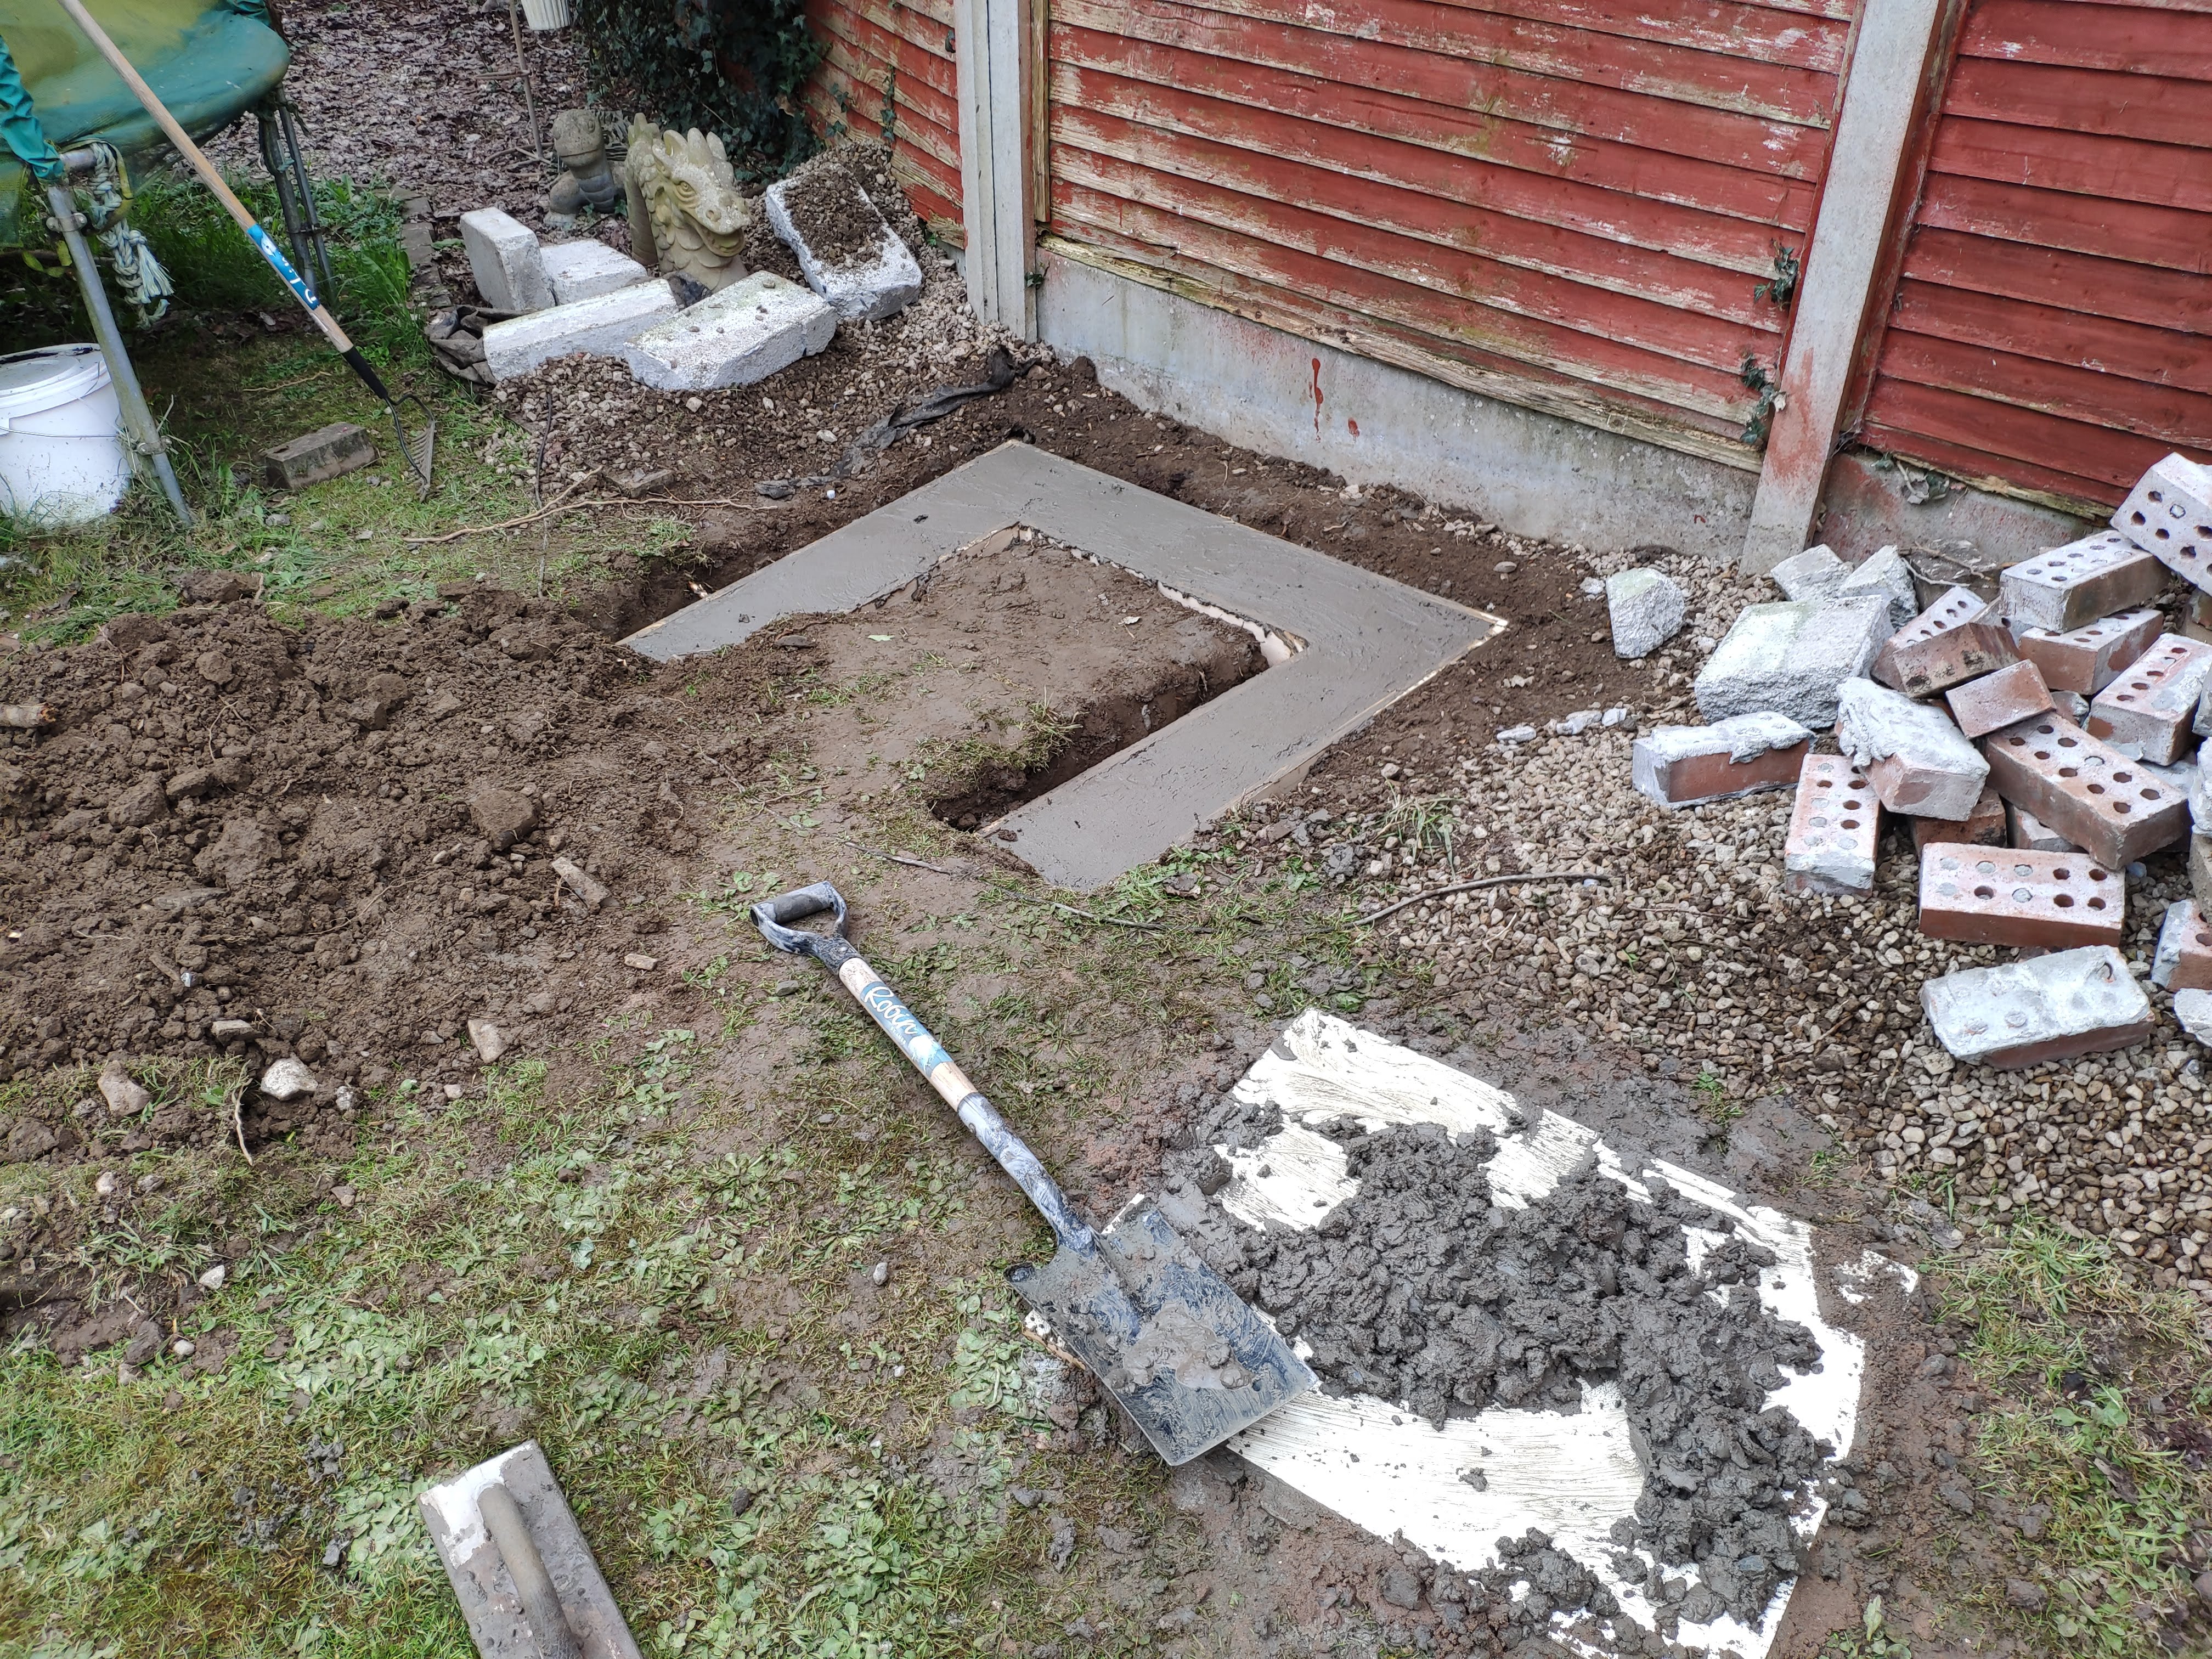 |
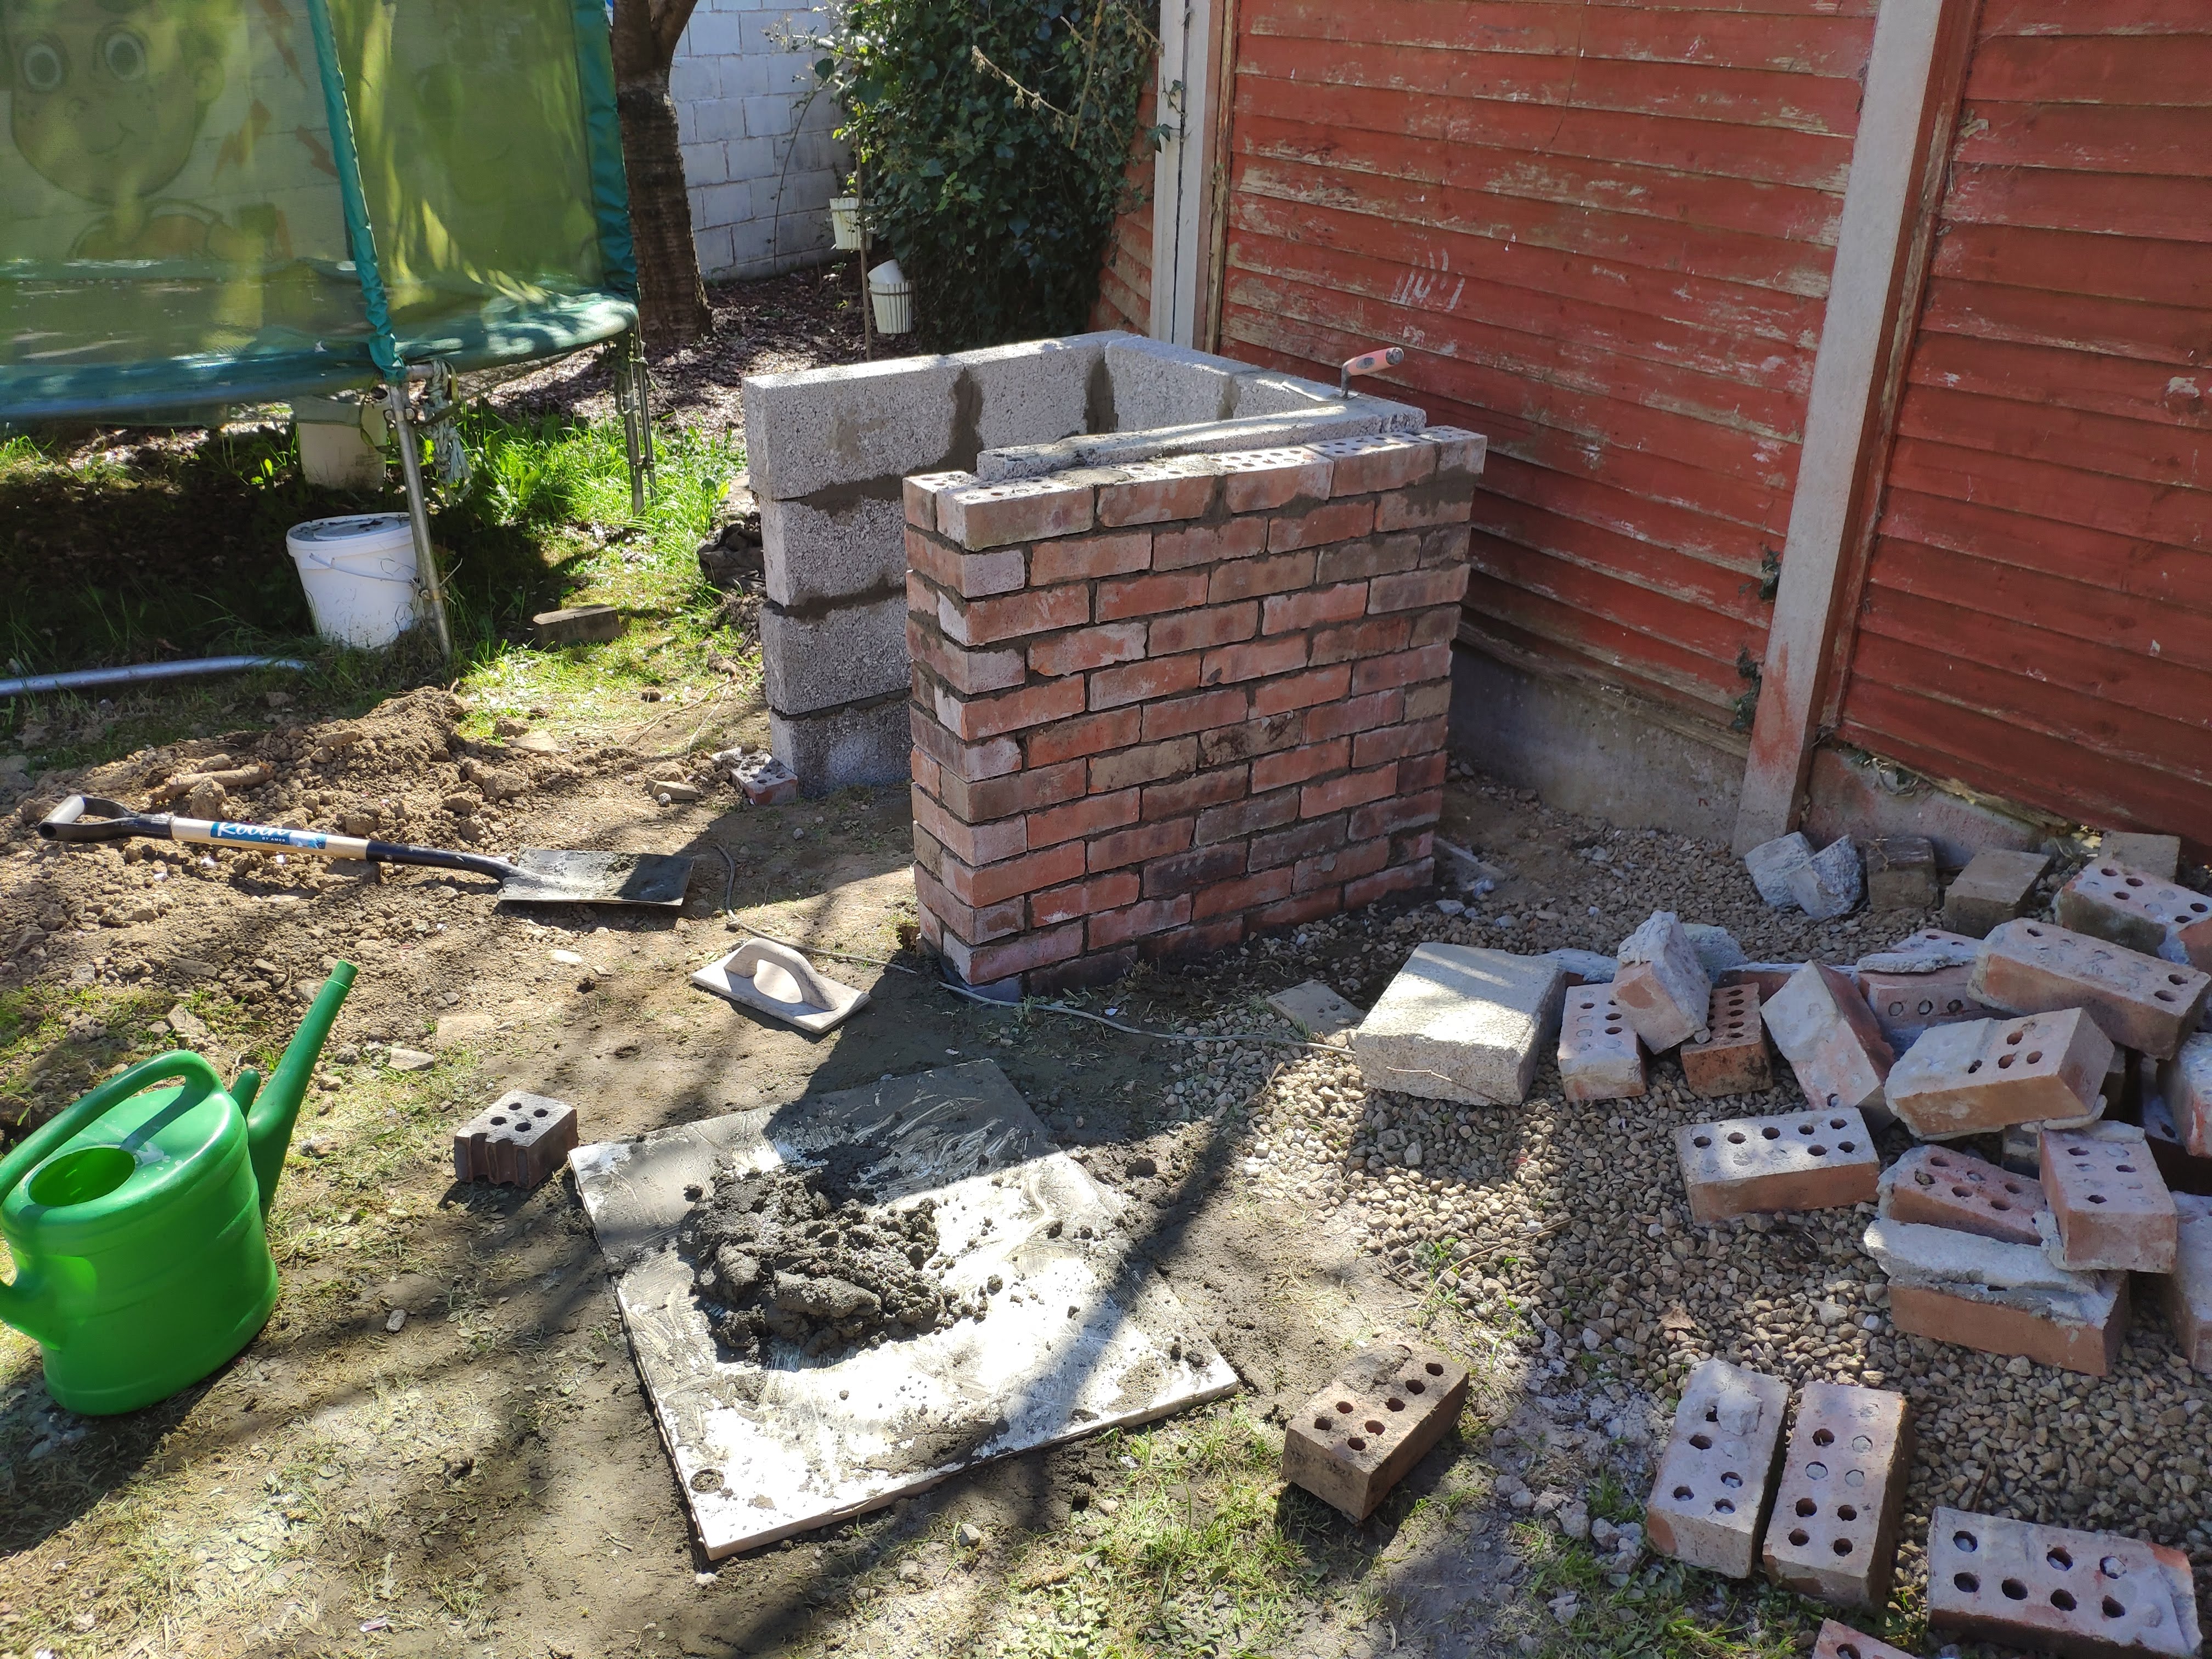
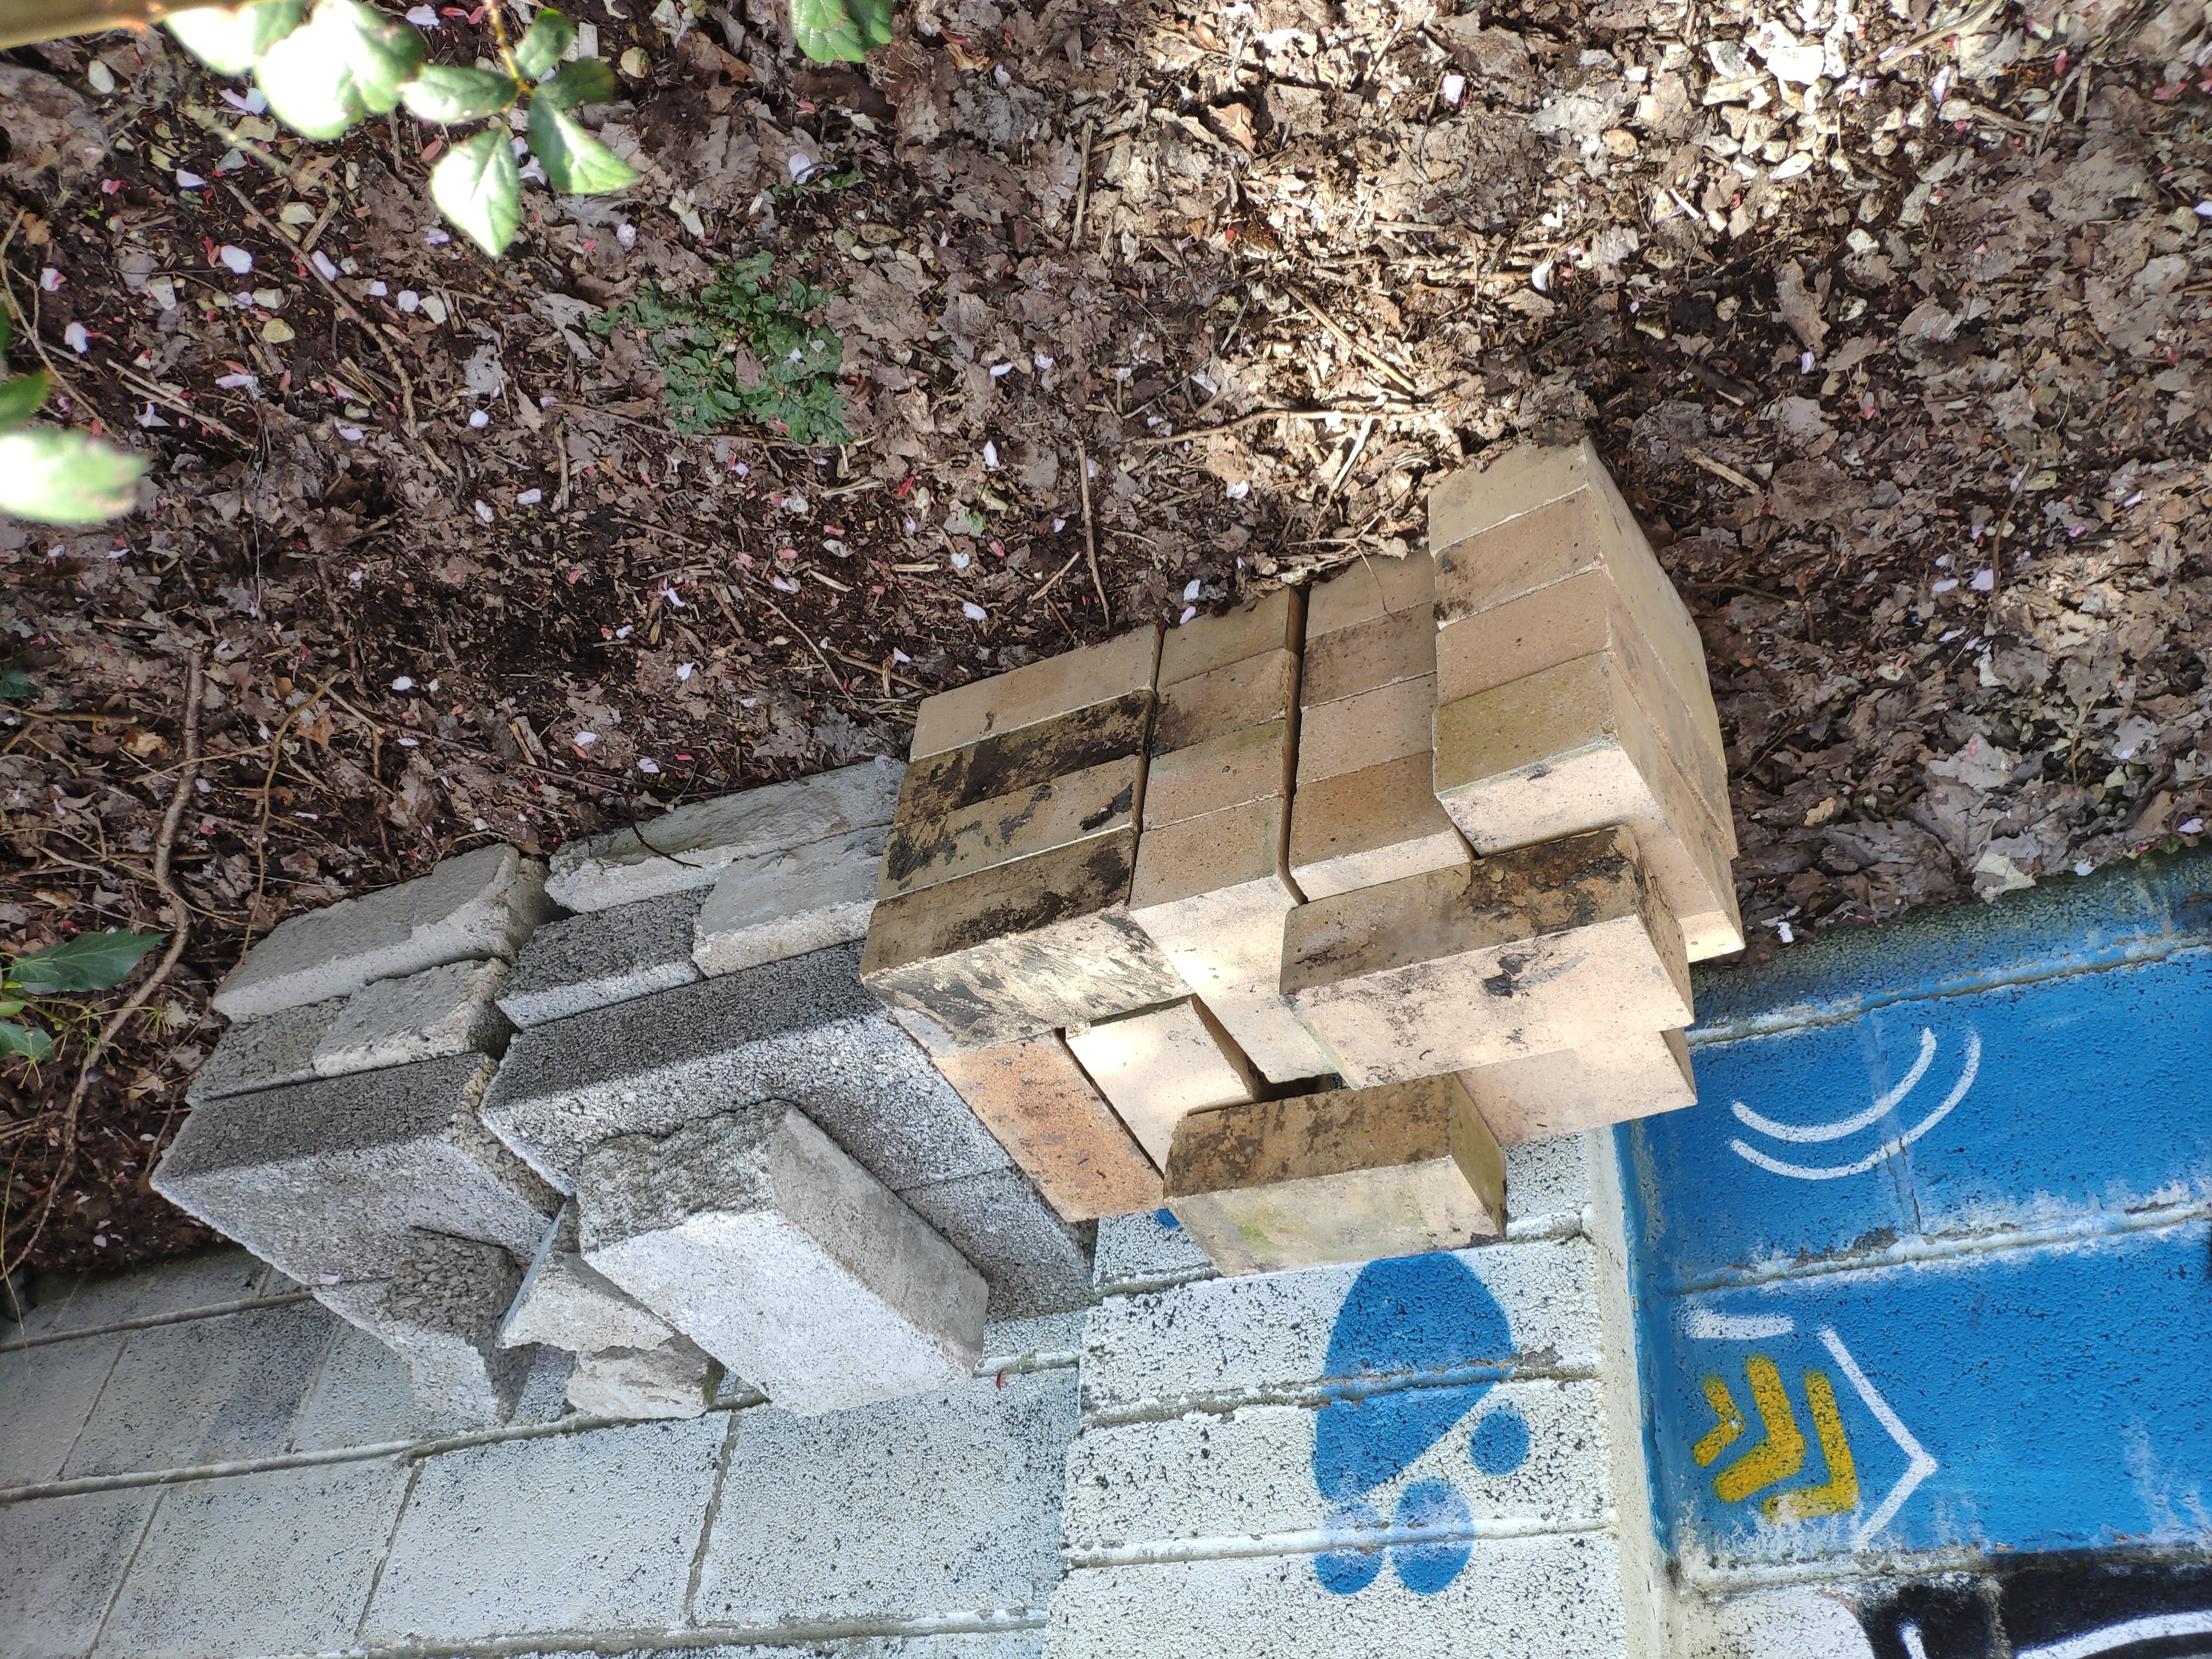
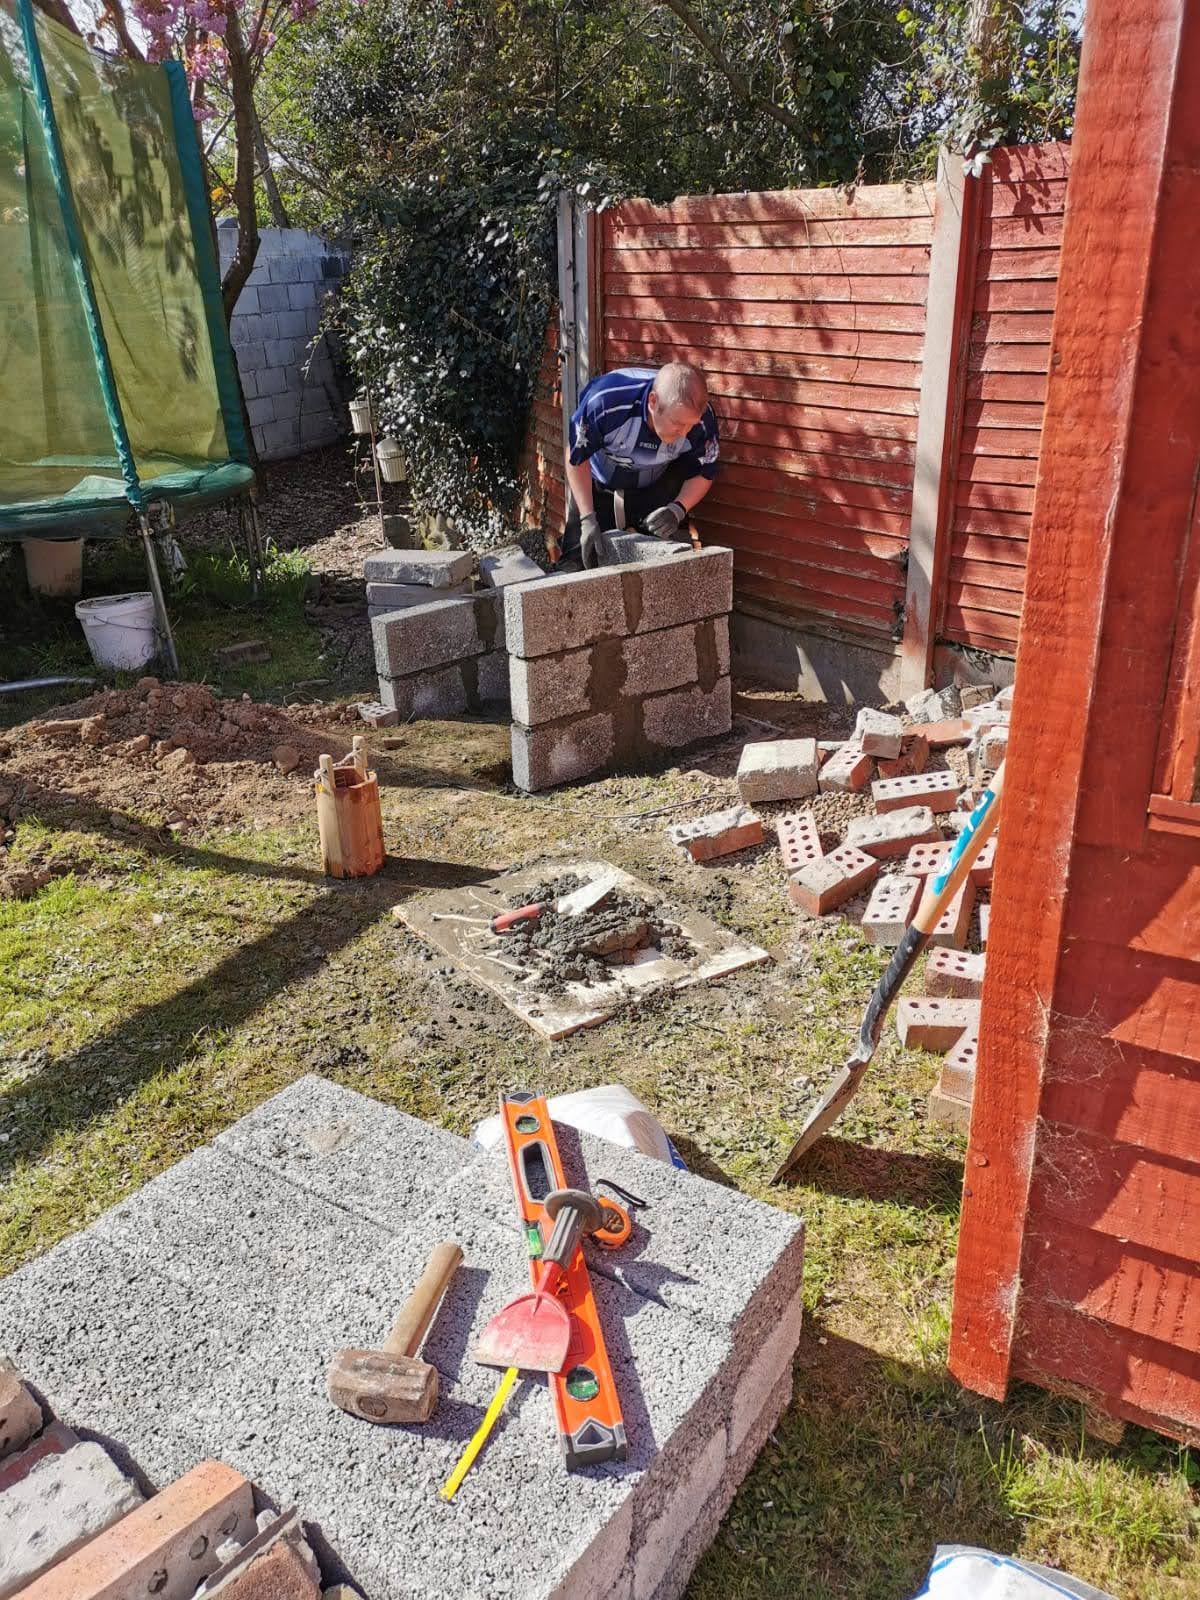
In an effort to to keep things simple with the build, it was decided to go without a chimney but this meant that the door to the oven would be quite smokey so I wanted to put it away from the house and the patio area. With plenty of enthusiastic help, an area at the bottom of the garden was cleared and a foundation was put in place to allow the a three sided wall to be built. The idea being that fire wood could be stored below the oven itself. There’s a lot of examples of home built ovens where people use wooden sleepers stacked in a square and just filled as the base and tbh, that would’ve negated the block work but it was quite fun to try and build a wall. It may not be the straightest wall in existence… but it’s mine…. :)
The blocks for building the wall were also extremely cheap (less than a euro a block) and the red brick was reclaimed from an old raised flower bed that my Dad had asked me to tear down earlier this year.
One thing to keep in mind when choosing a location is whether there are any birds nesting over the area. As I learned to my annoyance, lumps of pigeon shit doesn’t look great on the Pizza dome…
 Three Sided Wall
The Dome
| Yoga Ball Dome Cast | Vermiculite Cement |
|---|---|
 |
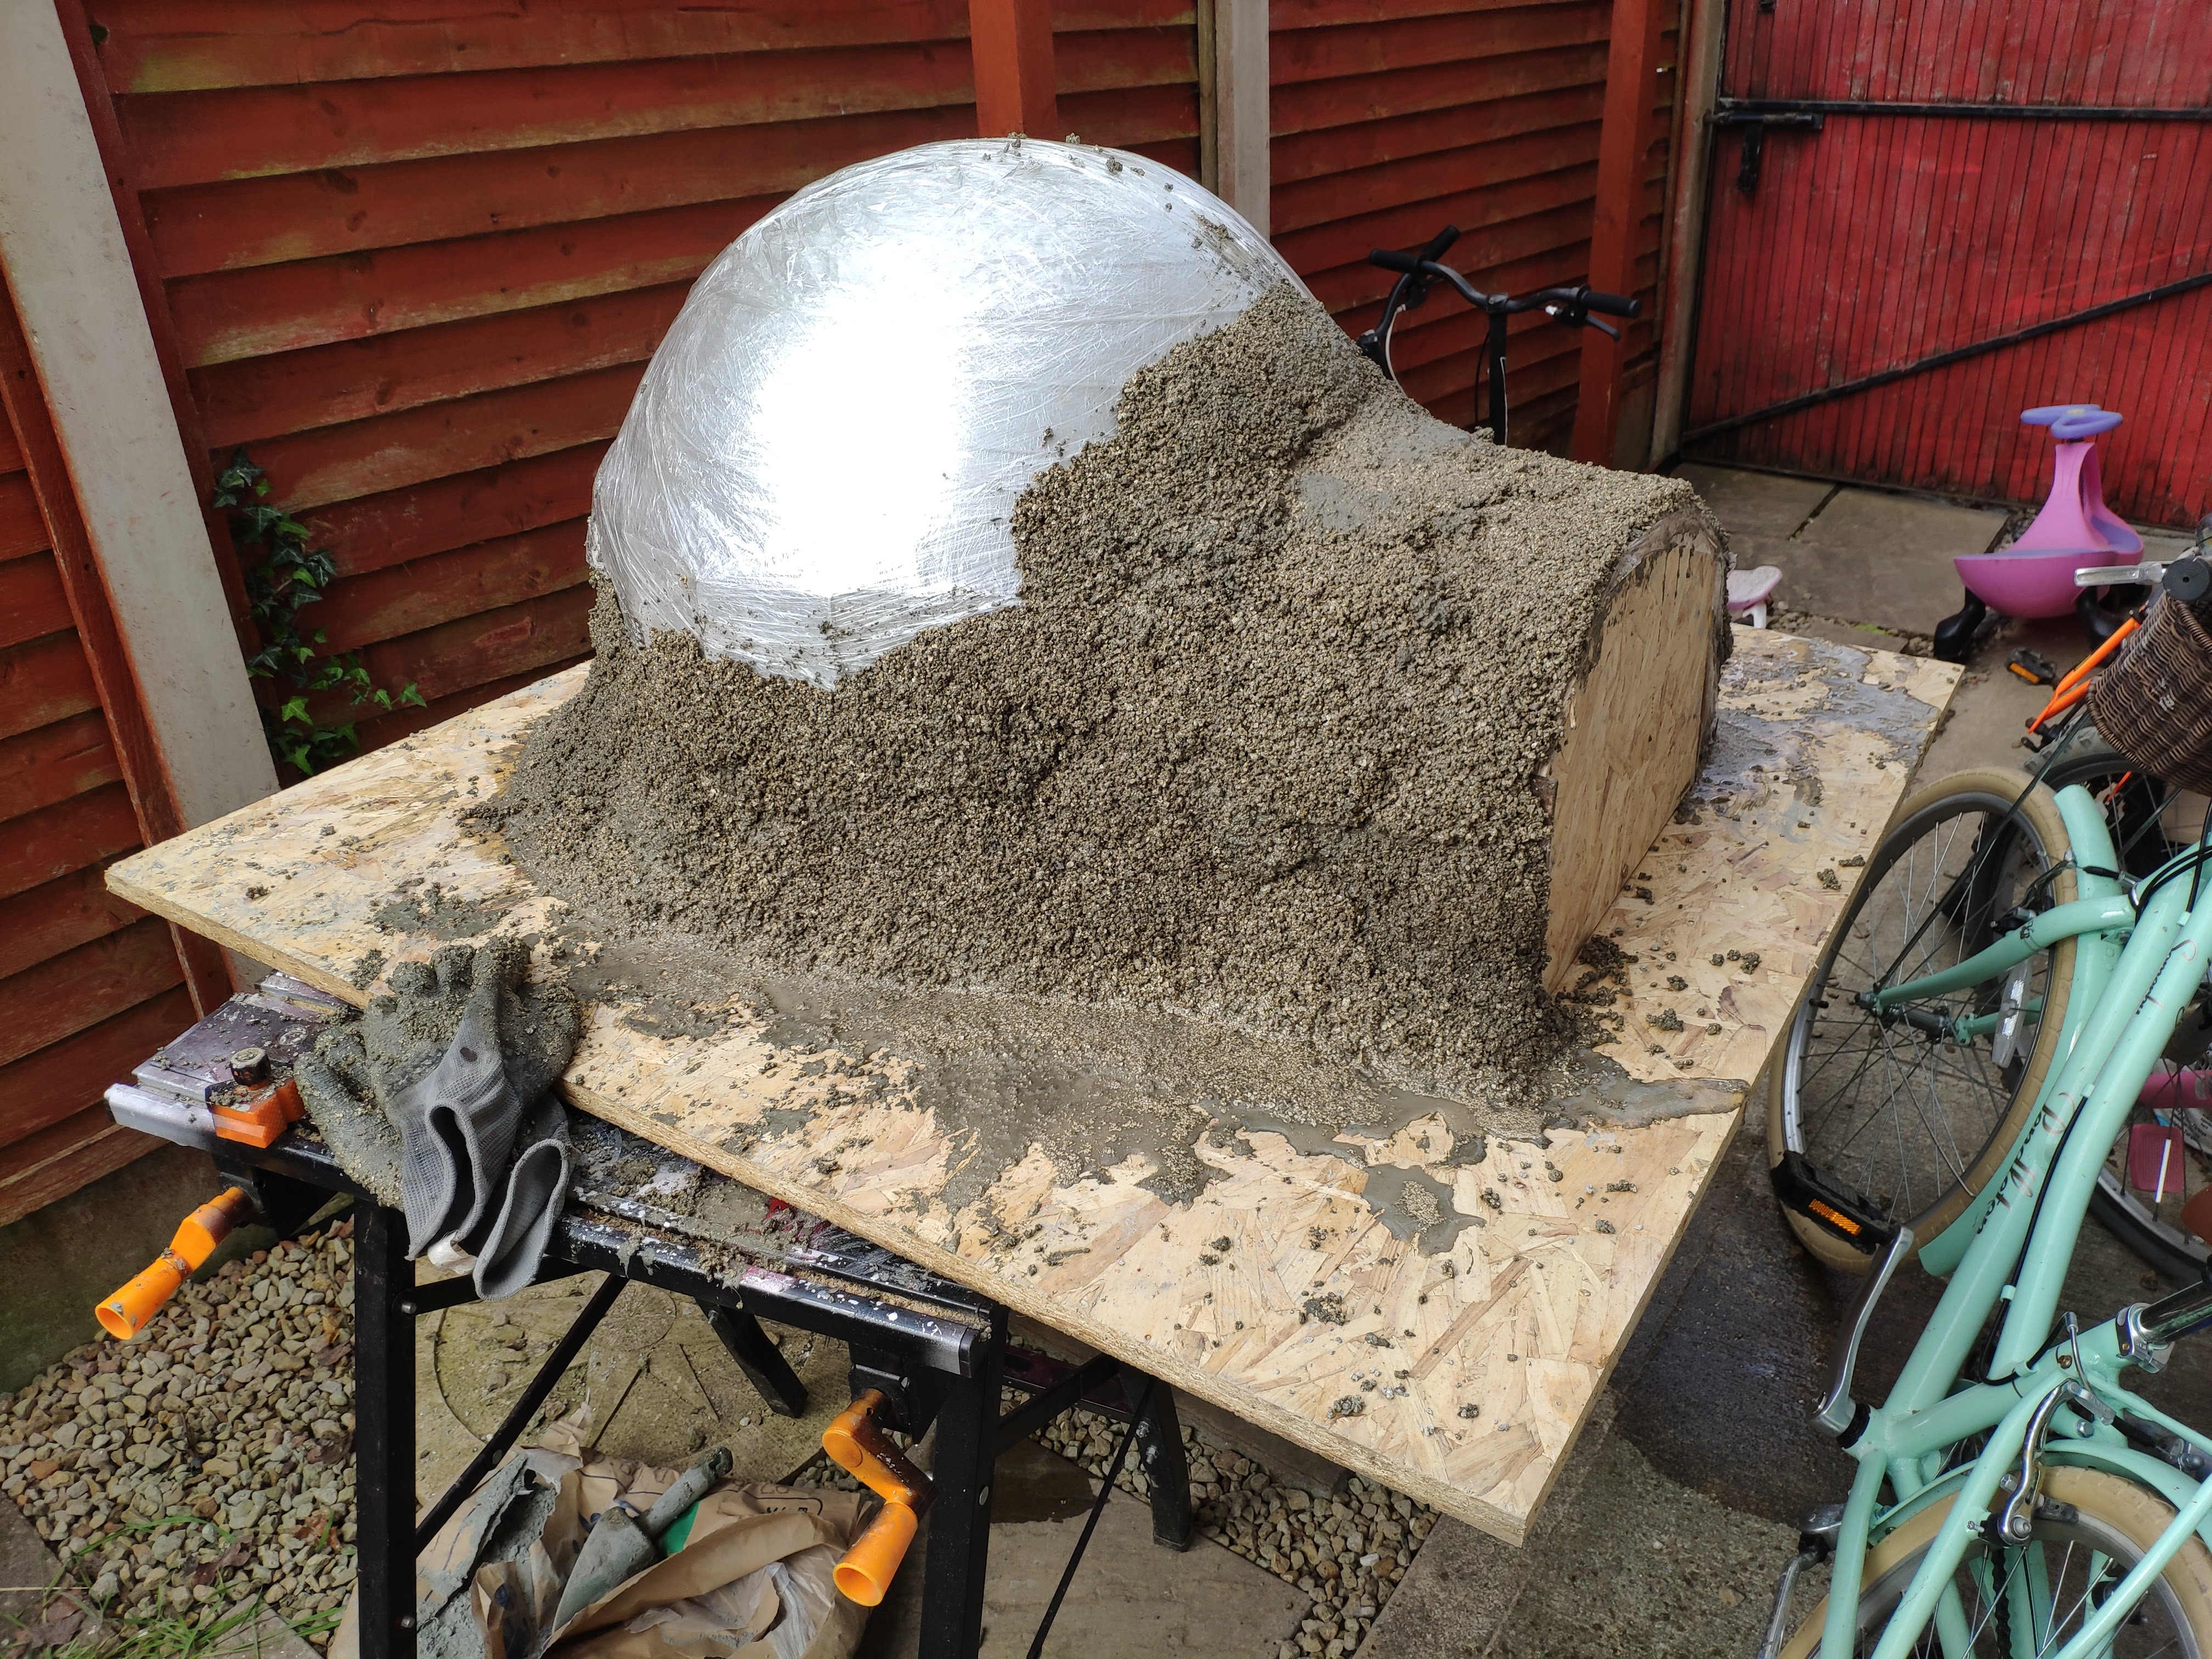 |
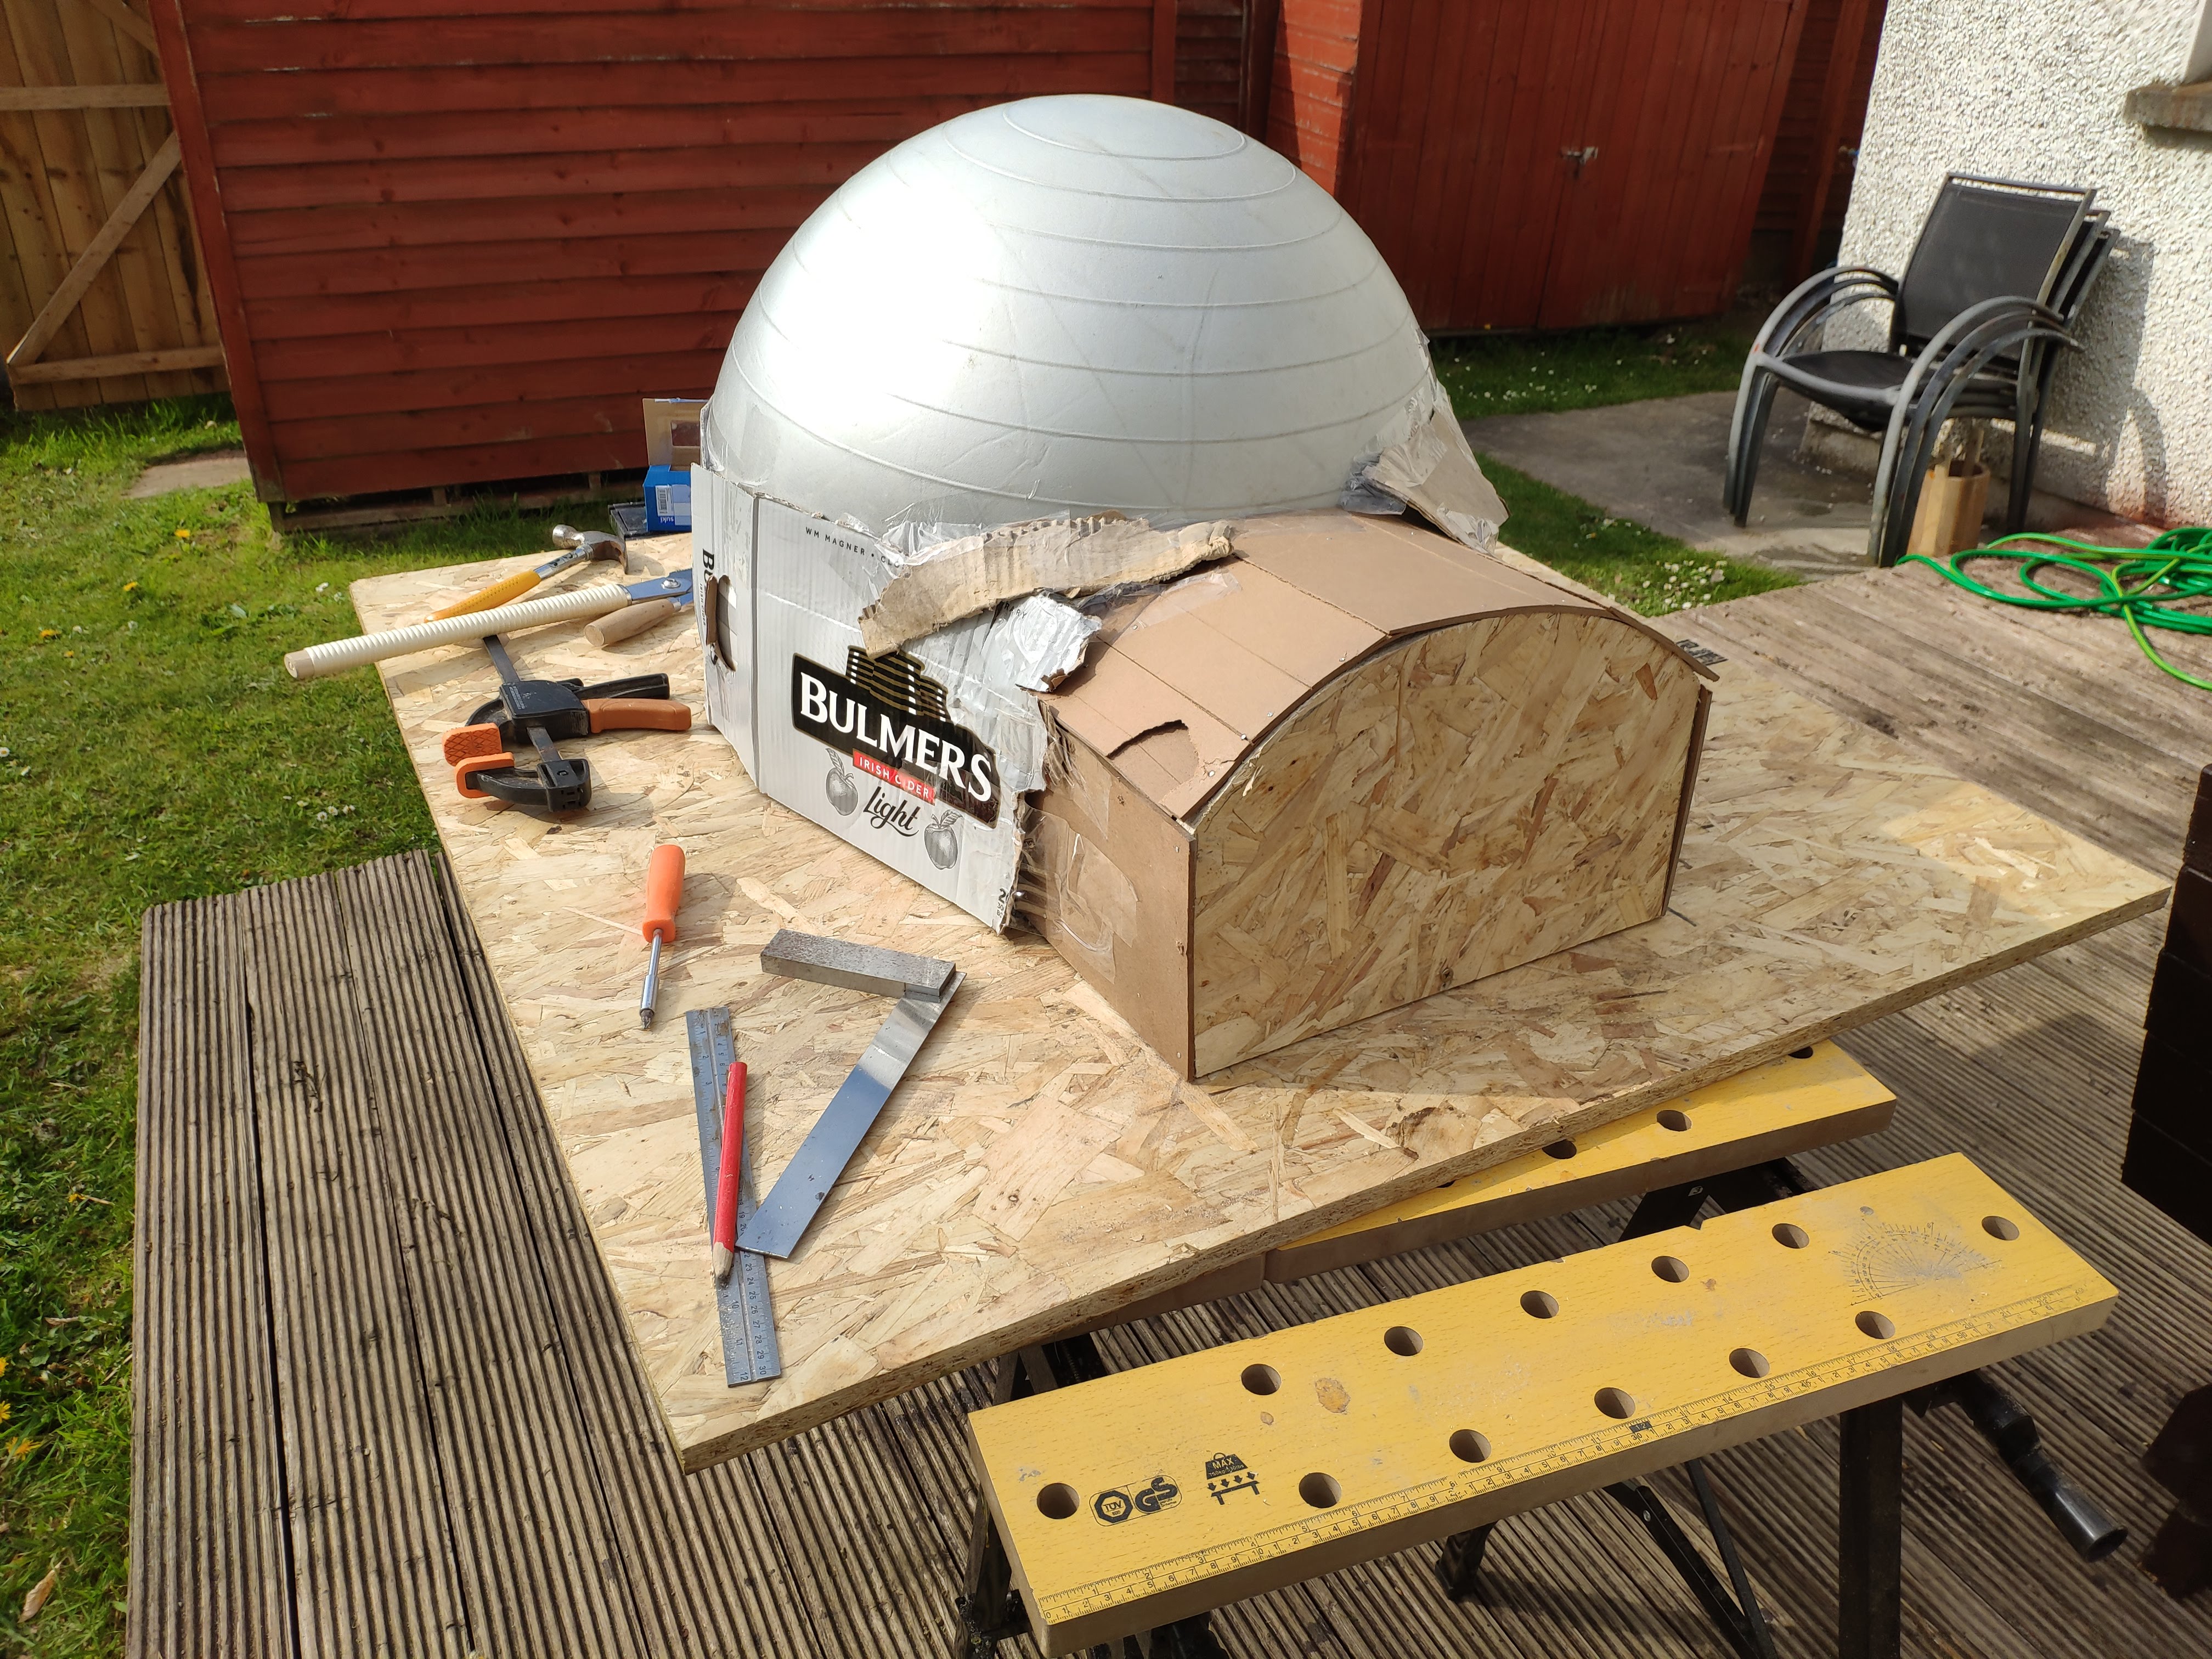
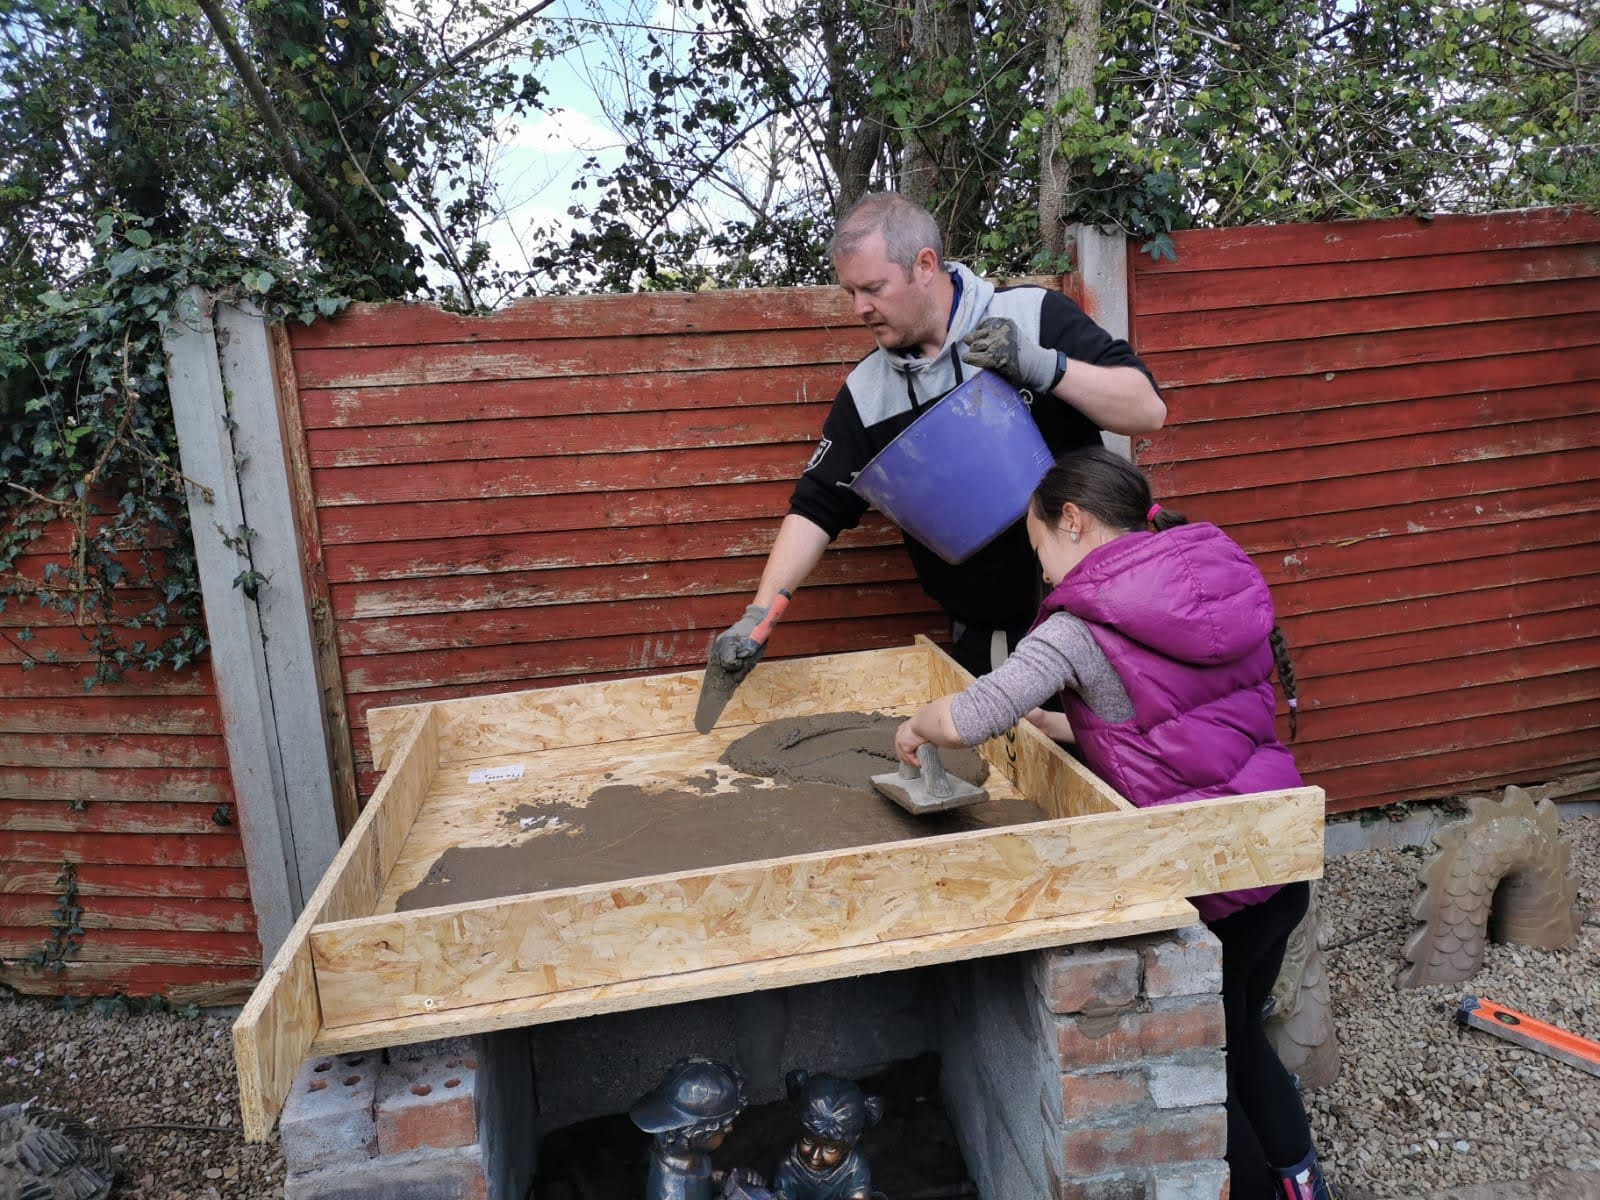
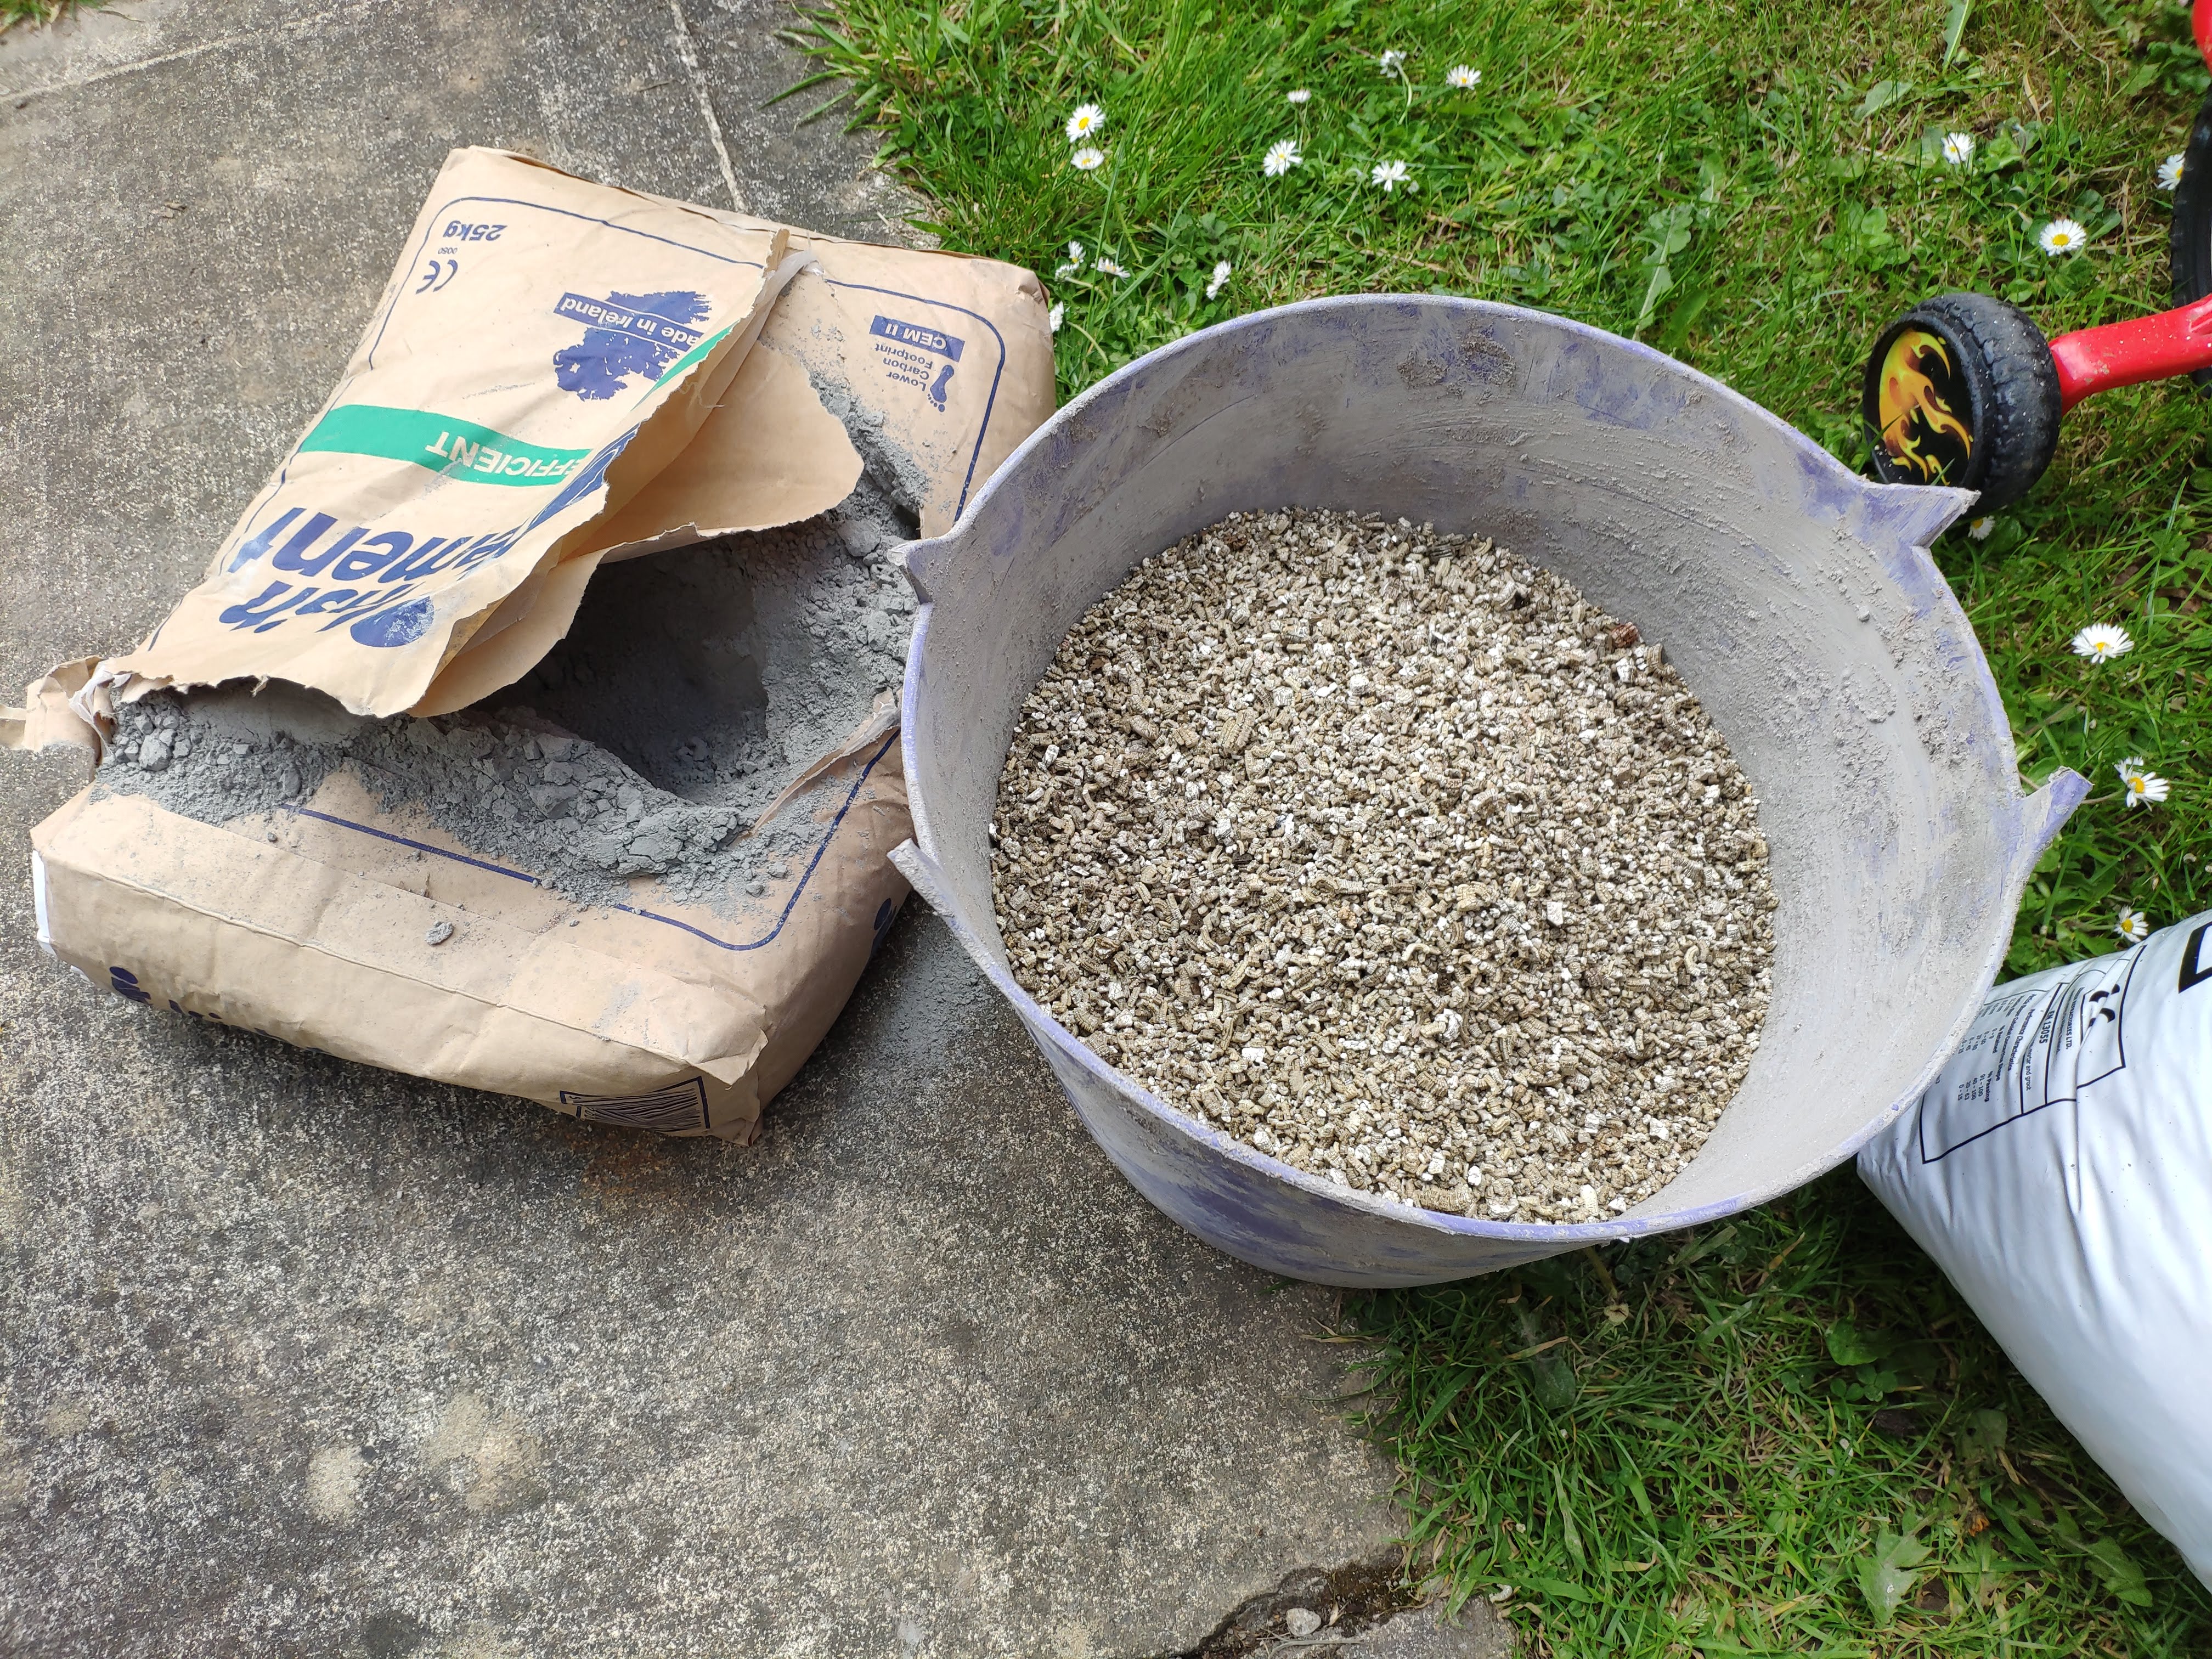
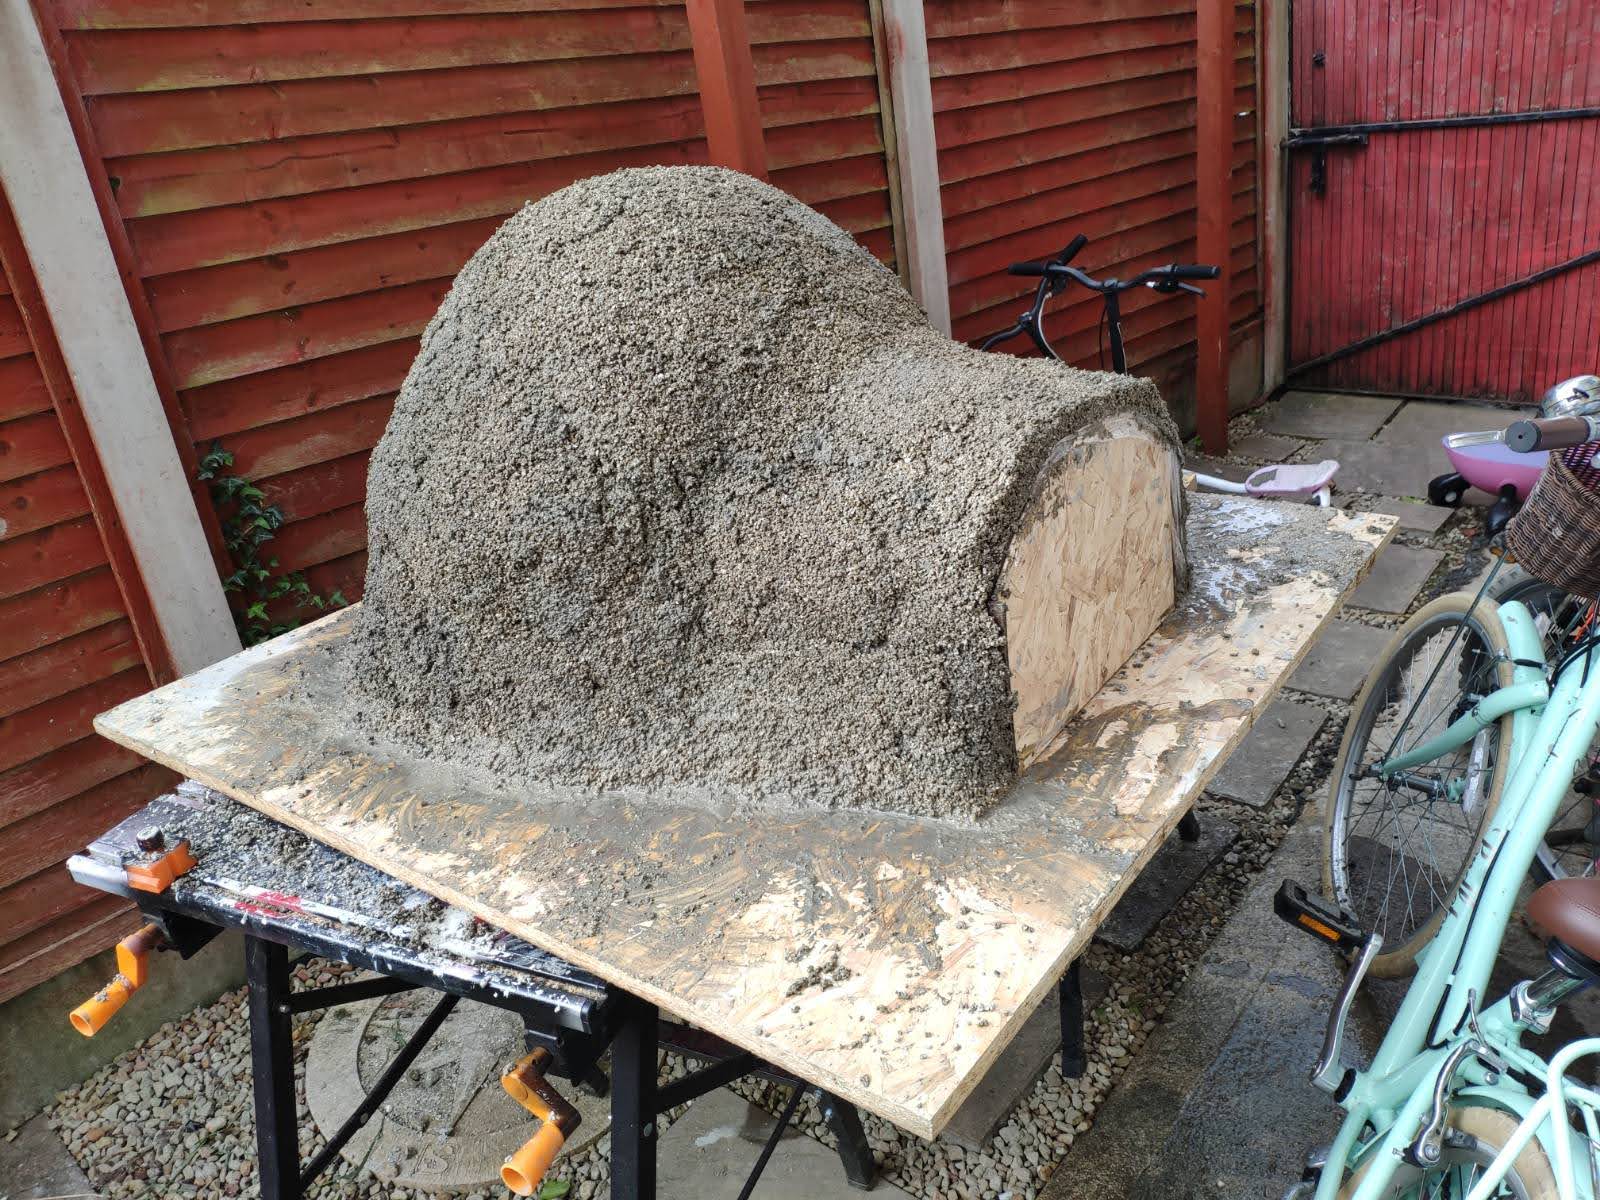
There seem to be two main ways to construct the dome, once you’ve selected your materials (check YouTube for debates on the pros and cons of Vermiculite -v- Perilite). Either build up a dome shape using sand and surround that with clingfilm (newspaper works too I’m reliably informed) or use a Yoga ball to get a wonderfully consistant shape. I went the yoga ball route. Cut out a hole in a ply board less than the diameter of the ball so it sits nicely when fully pumped, then construct a simple entrance. According to the experts, the dimensions of the door should reach at most 65% the height of the dome. This is to ensure that the heat circulates around the dome instead of too much being lost out the door. Also, make sure that you make the entrace wide enough to fit the max size pizza you want to make. Let the vermiculite and cement (6 to 1 mix) set on the dome for a few days and then release the air valve on the yoga ball and you have your dome… simples… :D
The Base
| Bottle Insulation | Fire Bricks |
|---|---|
 |
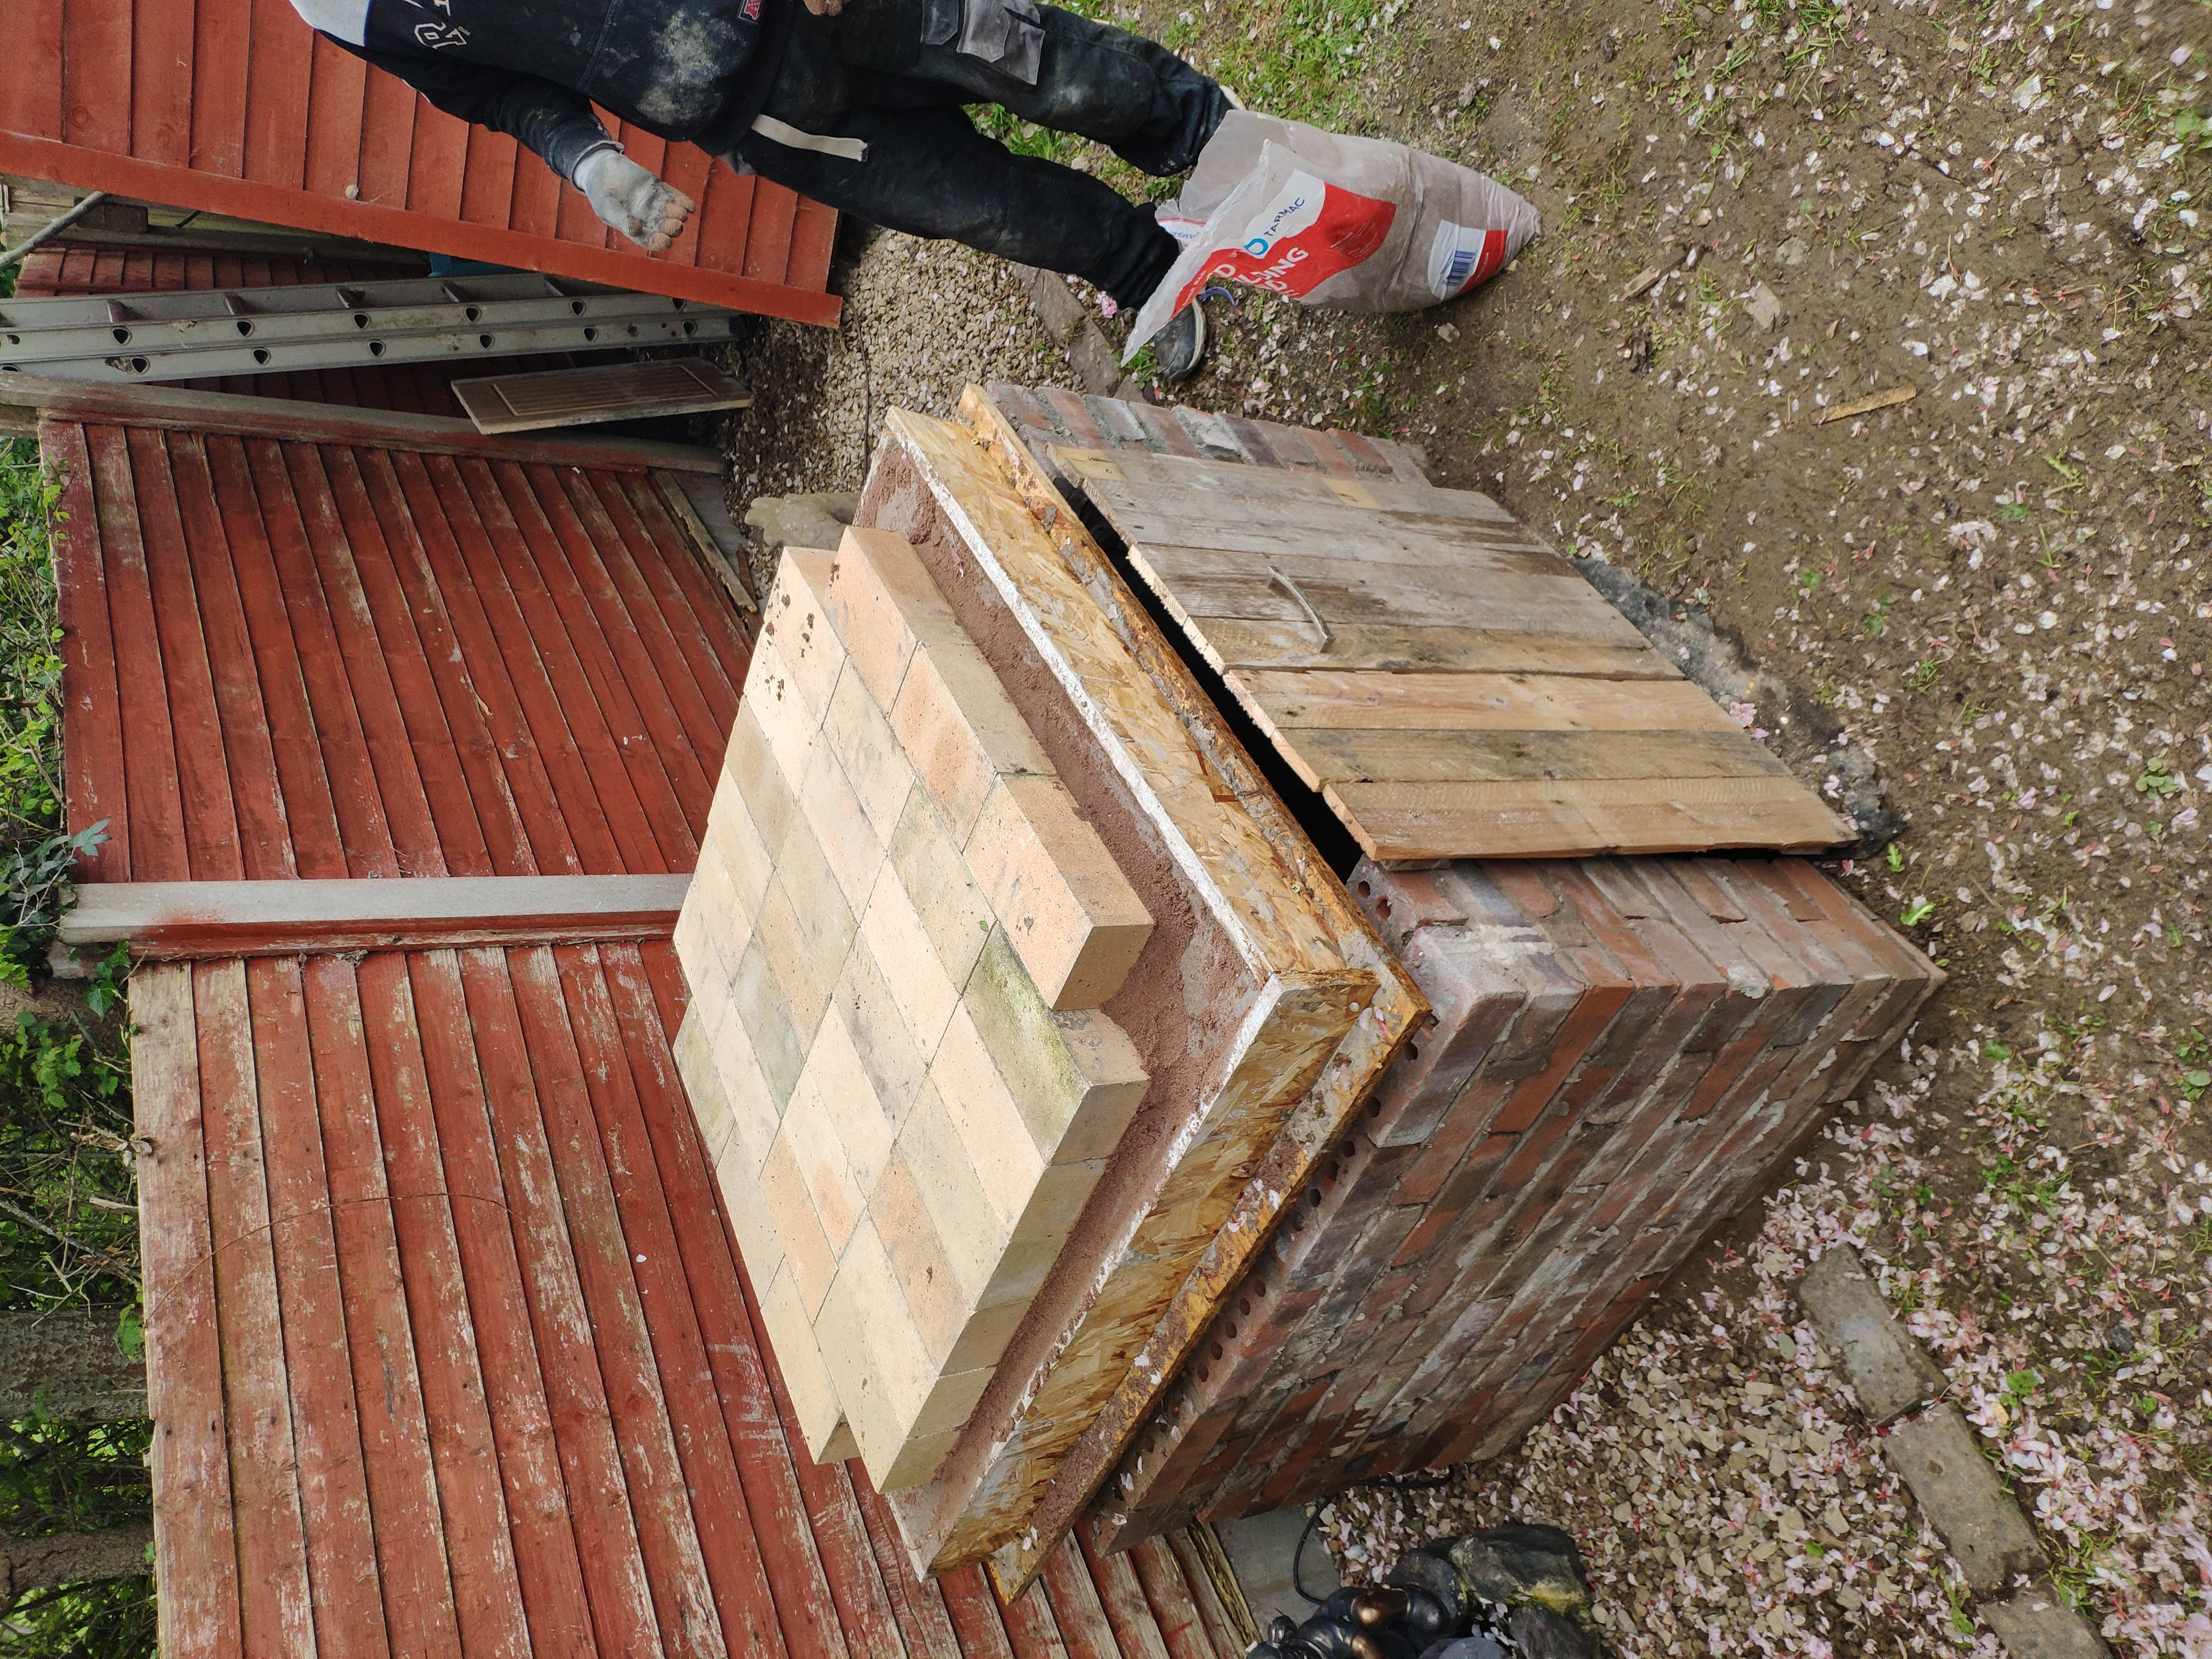 |
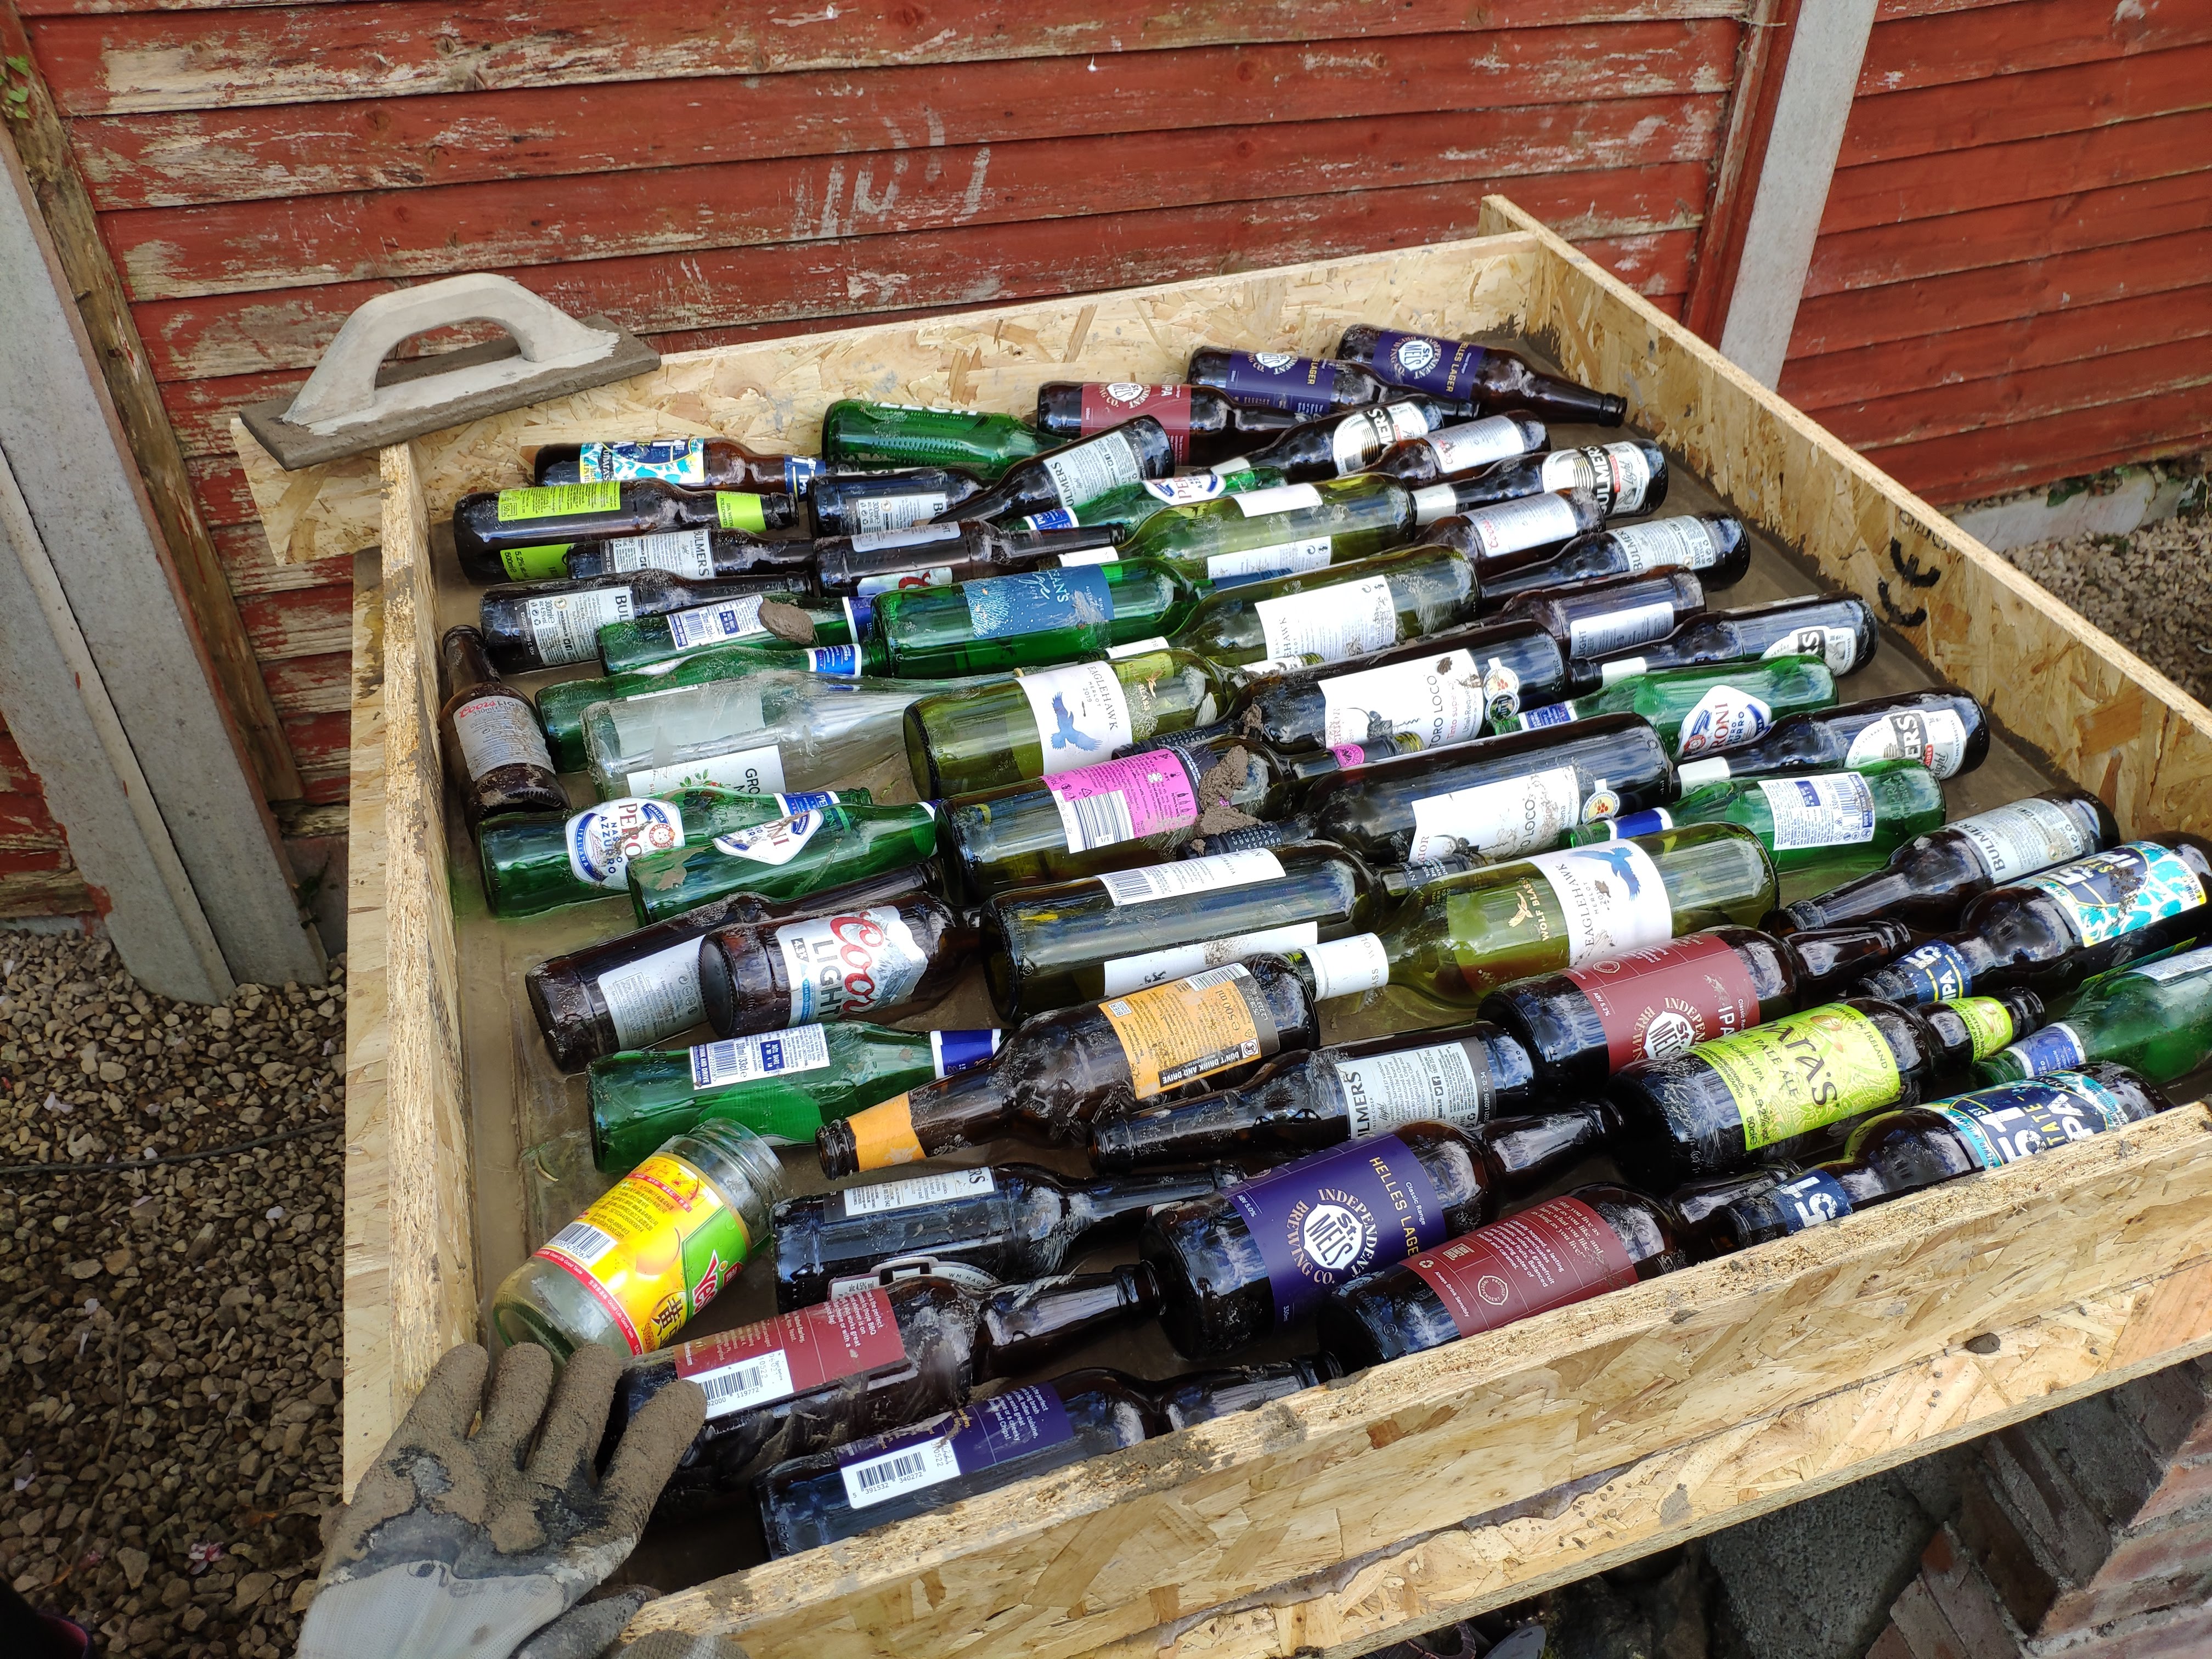
The idea of the glass bottles in the base is that they act as heat insulation so that you don’t lose heat from the oven into the base too quickly. I’ve seen plenty of comments on the internet which proclaim that to be absolute bull-plop but it made for a good picture none the less… Once the base layer of concrete had dried, the fire bricks went on a bed of bulding sand to try and get them as level as possible. I didn’t use any mortar to bind them together as I wanted them as tight as possible but there is a layer of mortar which went around the outside to try and prevent any slippage from the fire brick. BTW, firebrick are expensive… They are by far the most costly materials you will need if doing something like this, so get your measurements right early to avoid overage.
The Pizza
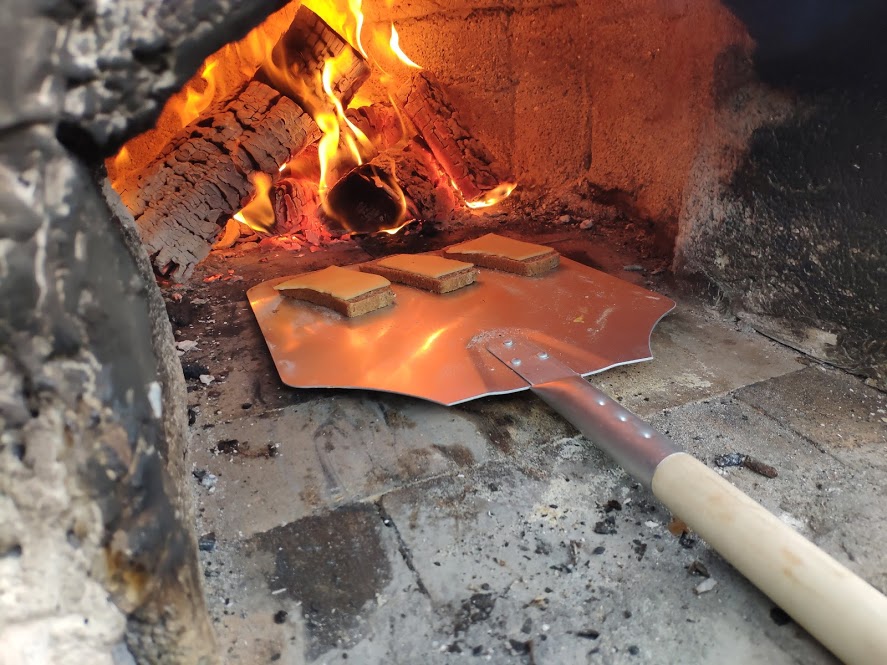
Cooking of the pizza itself was a new experience… The first pizza base was too thin and not floured enough. It ended up sticking to the peel and ended up looking a bit battered and bruised. The second base was a lot better though. Left a bit thicker and well floured, it slid off the peel without issues and immediately the dough started to rise on the bottom as the top cooked. At the stage the base of the oven was about 240C (the ceiling was up over 500C). One important point is that things cook very very quickly in an oven like this. As soon as the pizza is off the peel you should be looking at turning it. Frequent turning prevents the pizza from burning and gives more even cooking over the pizza.
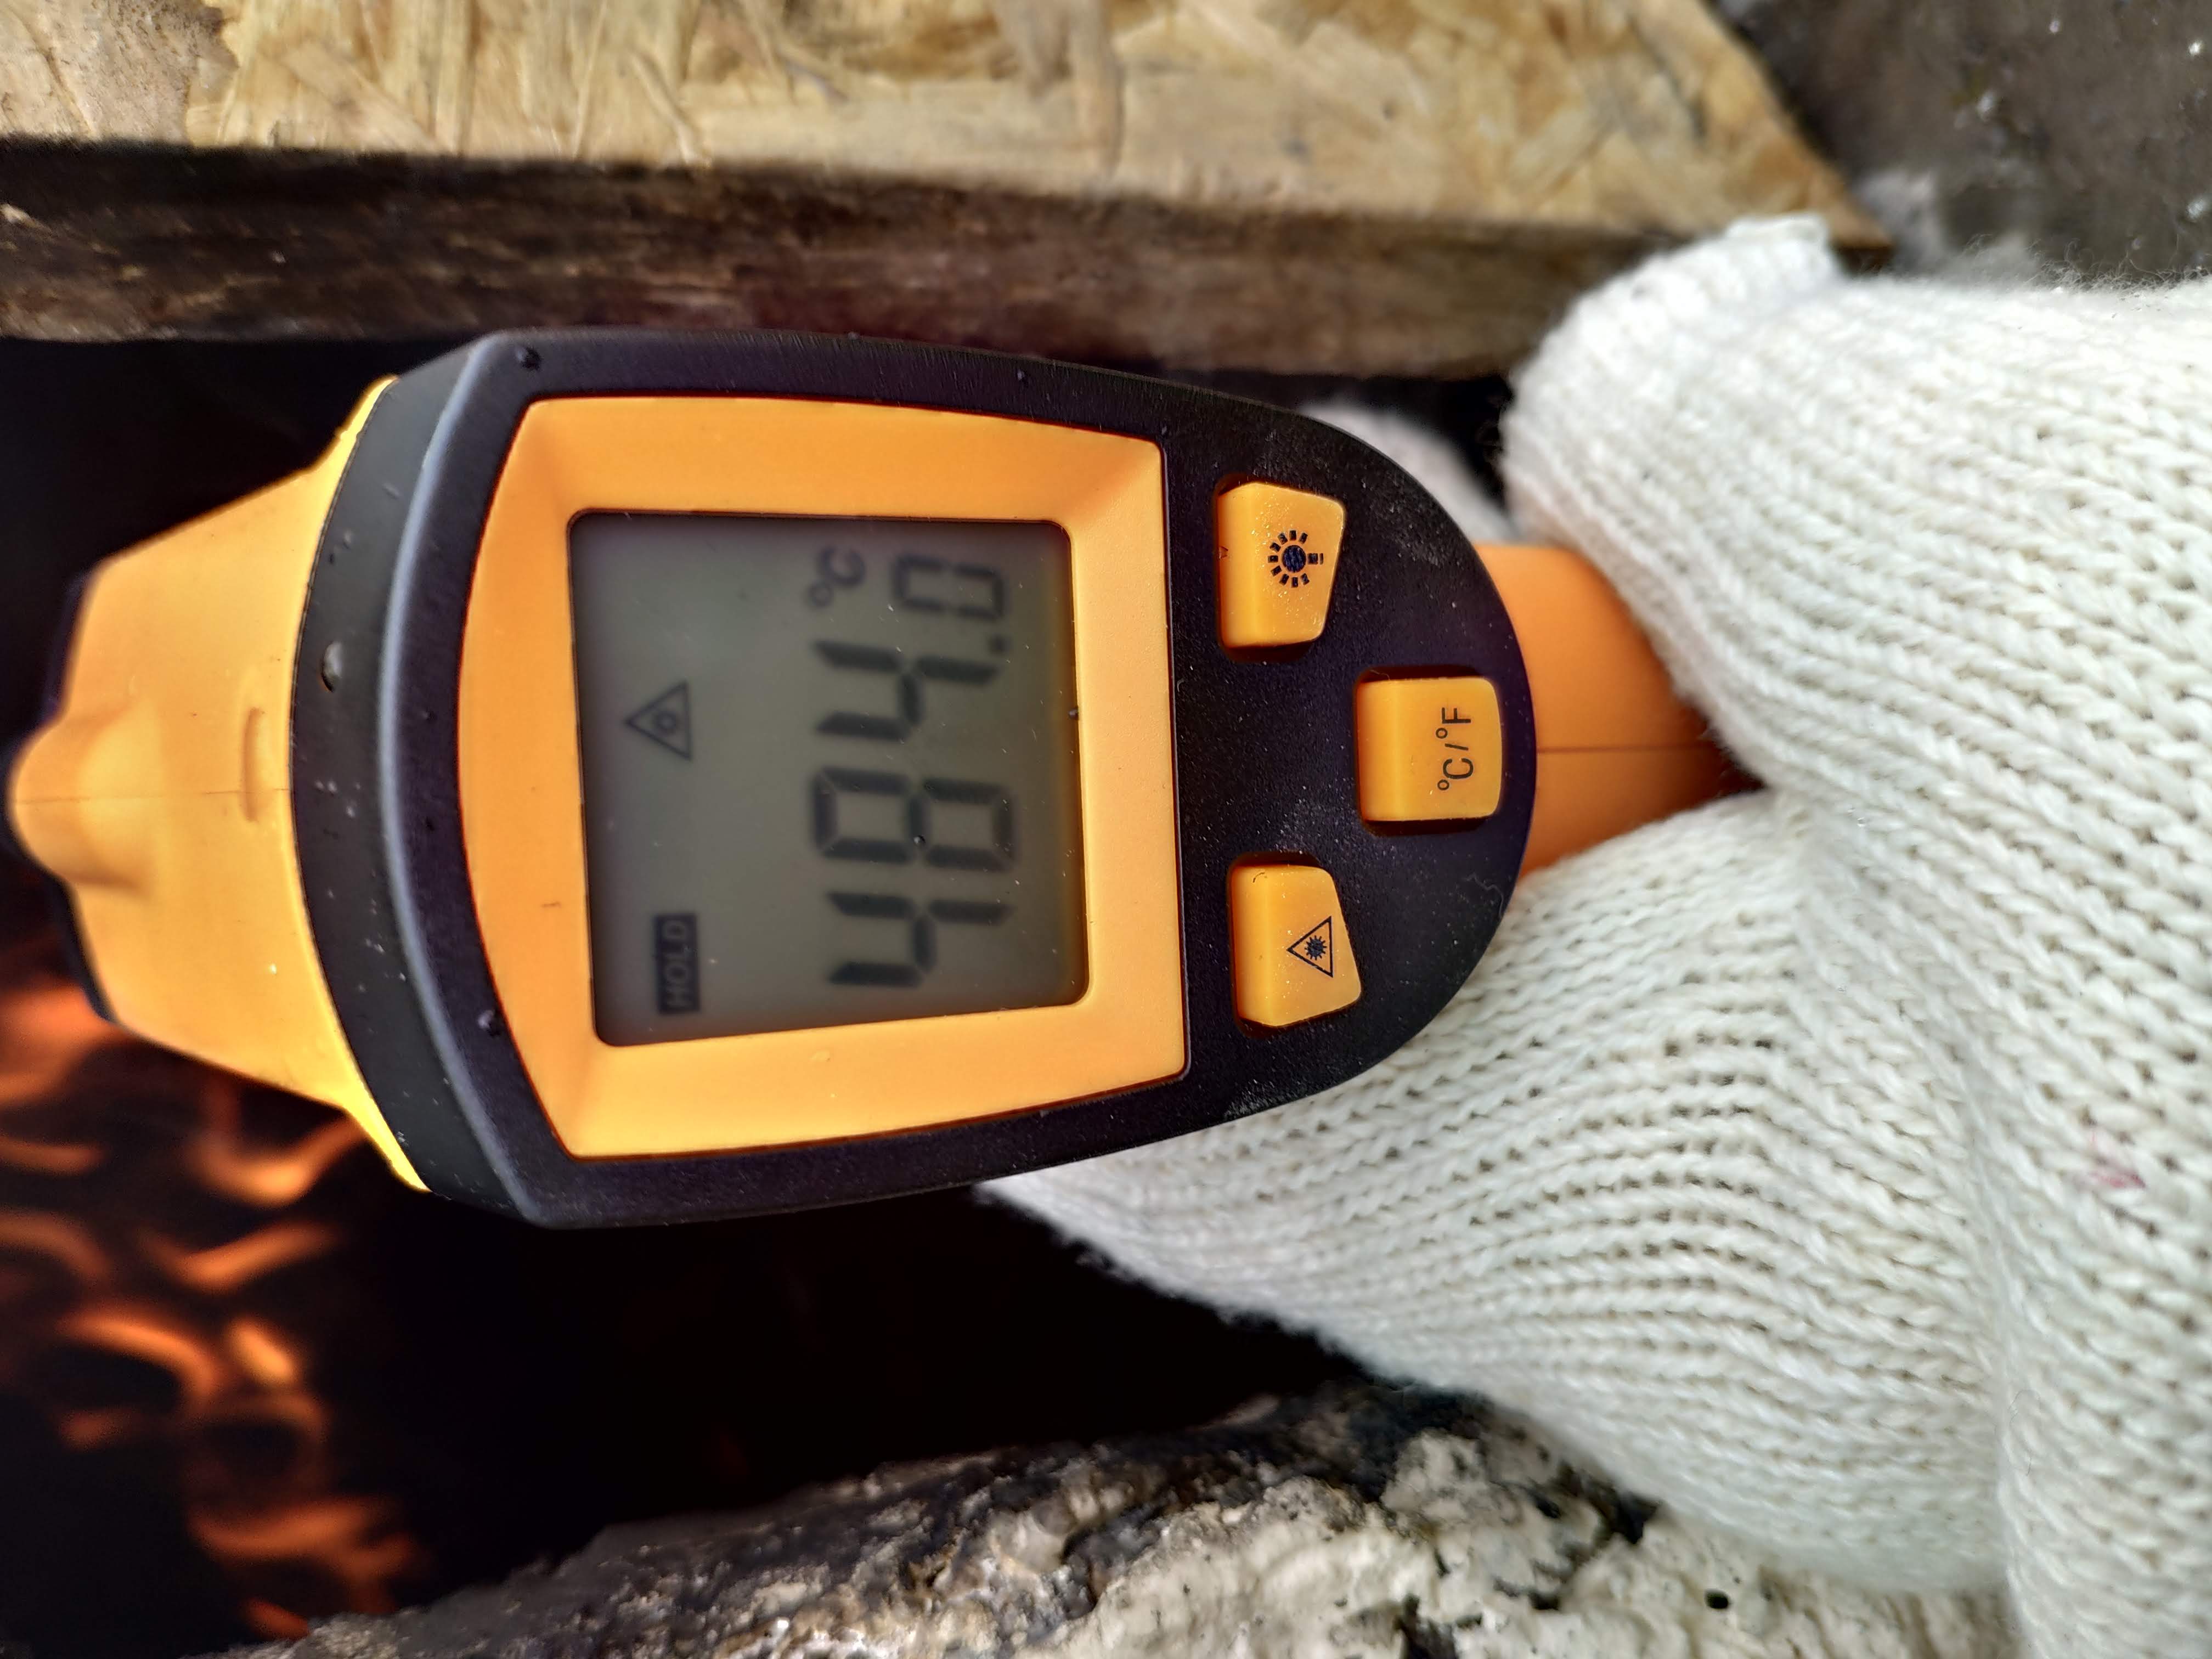 Serious Temperatures
Ultimately the taste was pretty good. Possibly not worth the 500 quid price tag but hey… it’s a long term investment…
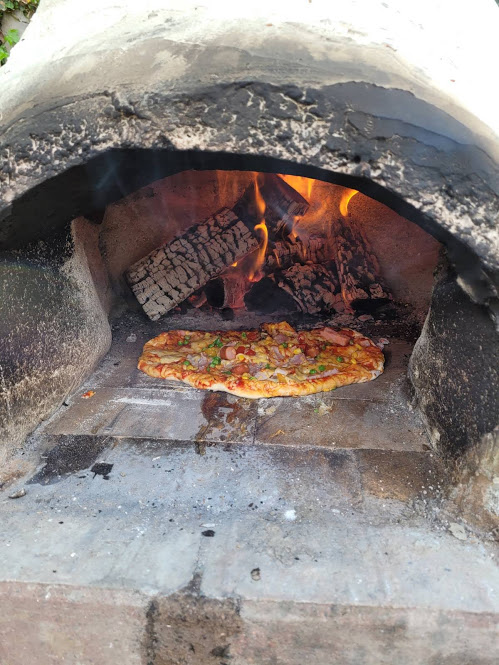 Tasted Good
Materials
| Materials | Cost |
|---|---|
| Wood / Concrete / Tools | 140 |
| Blocks (Normal & Firebrick) | 156 |
| Vermiculite & Insulation | 90 |
| Yoga Ball / Water Sealant & Sundries | 35 |
.
.
